
Two weeks ago, we shared our fall bucket list with you. We listed everything we wanted to accomplish in order to fully embrace and enjoy this sweater wearing, latte drinking, pumpkin carving season. The first item on that autumn list was apple picking!
Charlottesville is famous for its breweries, apple cideries, and vineyards – all three of which need produce to make their products. For this reason, apple orchards are in abundance in the surrounding area. We decided to go apple picking at Carter Mountain, famous for its apple cider donuts and beautiful sunsets (even Southern Living says so!). For those who need a geographical pinpoint reference, it is right next to Monticello!
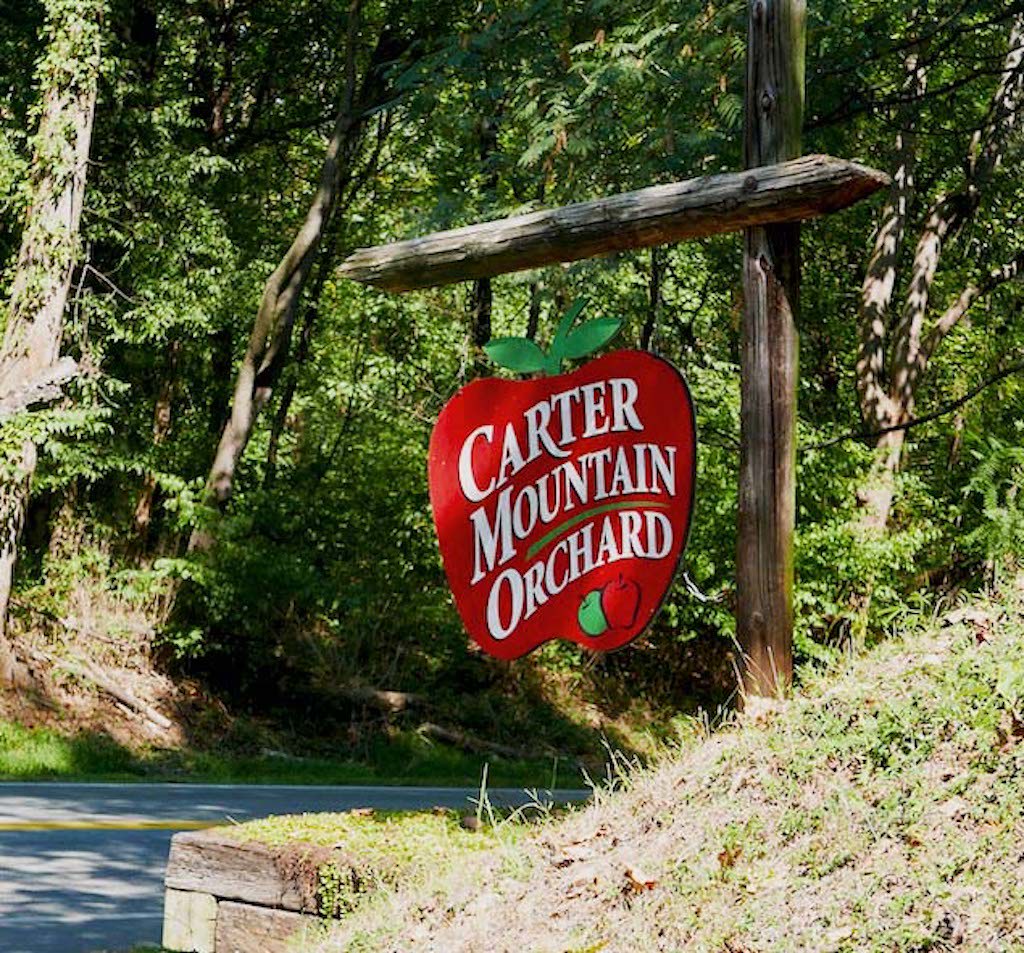
- Important Note: Carter Mountain is an incredibly busy and popular location in Charlottesville. As a rule, if you hate crowds, GO DURING THE WEEK and avoid going on the weekends. They are extremely busy in the fall with the pumpkin patch, sunset series, apple cider donuts, hayrides, and apple picking.

Apple picking is an activity perfect for all ages (though I will note that strollers, wheelchairs, and walkers can be somewhat difficult to use on the uneven grass of an orchard. It definitely did not stop people though! Power to all of you!). It is great for exercise, getting that vitamin D, hanging in groups, with family, or for a date.
For the purpose of this post, you will need a bit of backstory. If you are like me, your eyes are always bigger than your stomach. I never fail to pile too much food on my plate. Honestly, what can I say, I used to eat way more than I can now. (Darn you aging!) Besides that, I am horrible with portion control when cooking. I always make too much – like, 12 servings for 4 people, too much. (Yay! Leftovers for breakfast!)

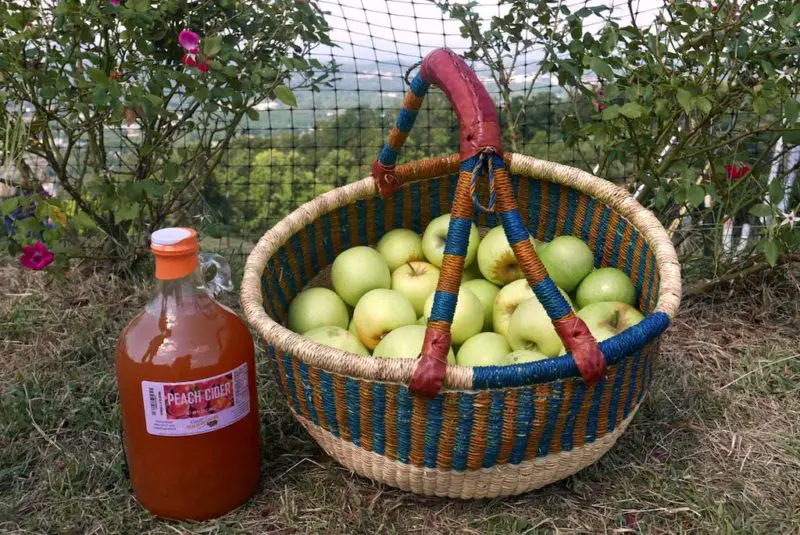
So, when we went apple picking, my life long problem of too much reemerged… 25 pounds worth of too much. I didn’t even notice until it was too late. I was having a blast picking apples! My poor husband trailed behind me, holding onto the basket as it quickly filled to the brim, getting heavier and heavier. I didn’t even realize, until I finally turned around long enough to see him lugging around our newly bought basket, its handles straining with the weight.
We bought our beautiful basket while apple picking at Carter Mountain. For those who are looking for one similar, it is a hand made African basket. These baskets help support a community in Africa through fair trade practices. To think, I almost broke our new basket on our first outing by picking too many apples! Oops.

When we arrived home, I realized, once again, how many apples I picked. After peeling and chopping for five minutes, I knew that baking and eating a bazillion apple pies in one day was impossible. I couldn’t even give away that many apple pies. Instead, I buckled down and did some research about how to properly store or freeze apples before continuing.
Guess what I learned y’all – you can freeze apples raw! Cooking is not necessary! Science and research were there to save the day. Accordingly, I would like to share all the magical (and some scientific) information I learned.
Here is your step-by-step, quick and easy guide to freezing apples in bulk!

1. Make a Lemon Juice Bath
First, Combine 10 cups of water with 6 tbsp of lemons (~3 to 4 lemons). This is for a bulk amount of apples. You can reduce the amount of water and lemon juice if you have less to work with. Half-way through, I switched out the bath.
It is important to do your research on lemon juice. I juiced my own lemons, but if you buy lemon juice concentrate in a bottle, look at the ingredients. Many of these concentrates have coloring and preservatives added. We just want to know and be well informed about what we put into our bodies! As long as you know and are happy, I am happy!
2. Peel and Core Your Apples
I cut apples into multiple different sizes. In the end, I bagged them based on their size. I started with apples cut into fourths. From there, I continued to cut smaller and smaller slices for different baking and cooking purposes.
3. Soak Apples in a Lemon Juice Bath for 5 to 10 Minutes
I personally soaked my apples in batches. Each batch should be in the lemon juice bath for 5 to 10 minutes.
I started with the apples cut into fourths. While that batch soaked, I move onto the apples sliced into sixths. I continued to repeat until I had cut all 25 pounds of apples.
4. Remove Apples
If you are doing multiple batches, remove your apples with a slotted spoon.
If you are doing a single batch, pour the apples and lemon juice bath into a colander.
5. Place on Tray/Blot to Remove Moisture
Place the apples onto a lined tray or cutting board. Blot the apples with a kitchen towel or paper towels to remove excess moisture.
6. Place in a Freezer Bag and Freeze Apples
Last, but not least, place batches into freezer bags with the date and contents. I personally used quart sized bags for this project. Make sure to remove as much air as possible to reduce the possibility of freezer burn.
Ultimately, you can keep these in the freezer for up to a year!
Tada! You are finished. Isn’t it easy to freeze apples?! It is so quick and so easy.

Further Notes:
- Once I freeze apples, I do not pull them out and just start munching on them. I attempted it so that you don’t have to! Though the flavor of fresh apples is there, the texture is not. Frozen apples are perfect for baking and cooking purposes but not for eating raw. It is just not the same!
- For the most part, the frozen apples will not turn brown. There may be a slight change in coloration, but not what you would normally see and/or expect. Lemon juice is the key ingredient used to keep these guys from starting the browning process. The quicker you place them into the lemon juice and water bath, the quicker the browning process stops.
- If you are curious as to why lemon juice prevents apples from browning, the answer is actually very simple. Once added to apples, the ascorbic acid, otherwise known as vitamin C, in lemon juice creates a barrier between the oxygen and the polyphenol oxidase (the stuff that makes apples turn brown). The ascorbic acid in lemon juice reacts with the oxygen preventing the apple from turning brown.
- It is important to note though that this is not a permanent process. Once the lemon juice is absorbed completely or evaporates, it will no longer keep the apple from turning brown over time. So, when freezing apples, get them into the freezer as soon as possible. Don’t let them lay around allowing the lemon juice to absorb or evaporate.

In conclusion, I hope this helps out individuals like me who bite off more than they can chew with apples!
We will keep you updated with recipes made with our many, many frozen bags of apples! For now, leave a comment below. Let us know your favorite apple recipes! Moreover, follow us on Instagram, Twitter, Facebook, and Pinterest!
How to Freeze Apples: Easy and Quick Method
Ingredients
10 cups of Water
6 TBSP of Lemon Juice (3 to 4 lemons)
Apples (We did 25 pounds in two batches of lemon juice bath)
Directions
- Make lemon juice bath by combining water and lemons
- Peel and core your apples
- Soak apples in a lemon juice bath for 5 to 10 minutes
- Remove apples with a slotted spoon or with a colander
- Place on tray and blot to remove moisture
- Place in freezer bags. Write the date and contents on the bag
- Freeze! Can be kept in the freezer for up to 1 year.
Did you make this recipe?
Tag @carvingajourney on Instagram and hashtag it
Like this recipe?
Follow us @carvingajourney on Pinterest
Did you make this recipe?
Follow Carving A Journey on Facebook
Carving A Journey is a participant in the Amazon Services LLC Associates Program, an affiliate advertising program designed to provide a means for sites to earn advertising fees by advertising and linking to Amazon.com. Although we may earn commissions for our endorsement, recommendation, testimonial, and/or link to any products or services from this website, these opinions are my own and I fully support these products.