")
This post may contain affiliate links. Please read my disclosure for details at the bottom of this page. As an Amazon Associate, I earn from qualifying purchases on this burnt sugar syrup recipe article! I hope you enjoy learning how to make this delicious ingredient to add to your coffee drinks, cocktails, and baked goods!
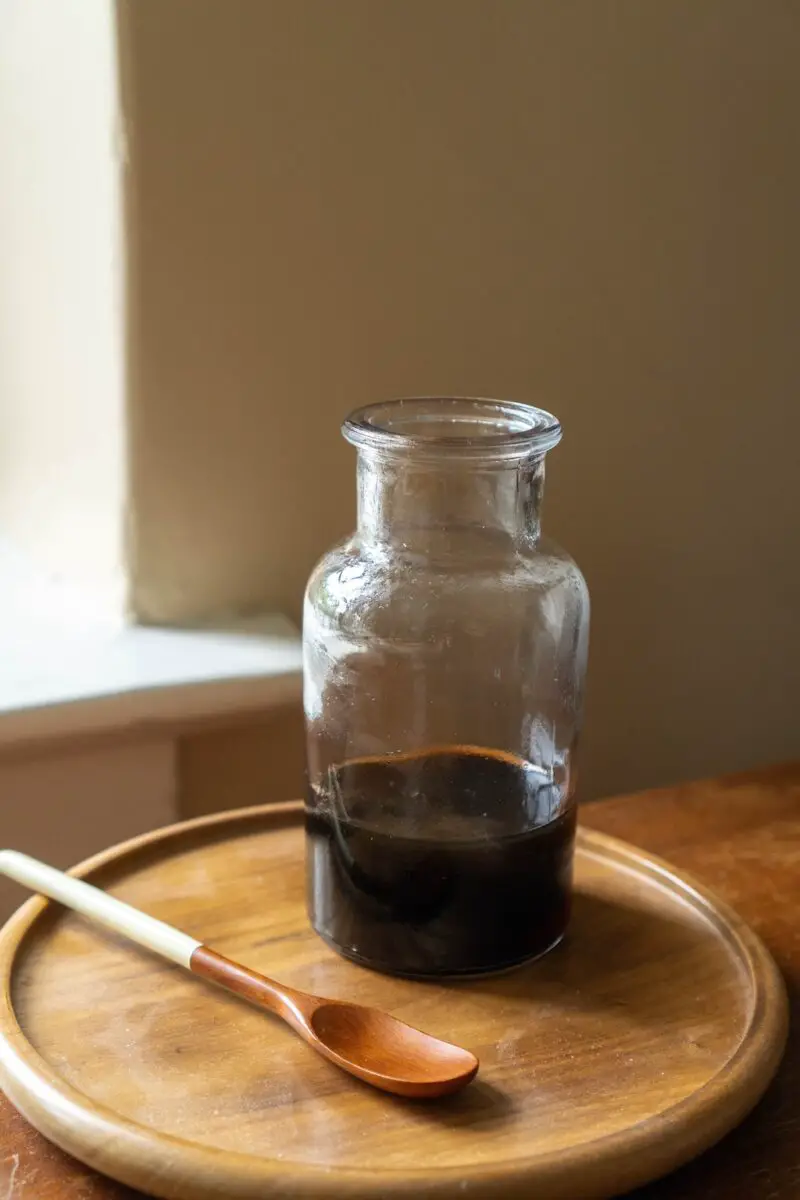
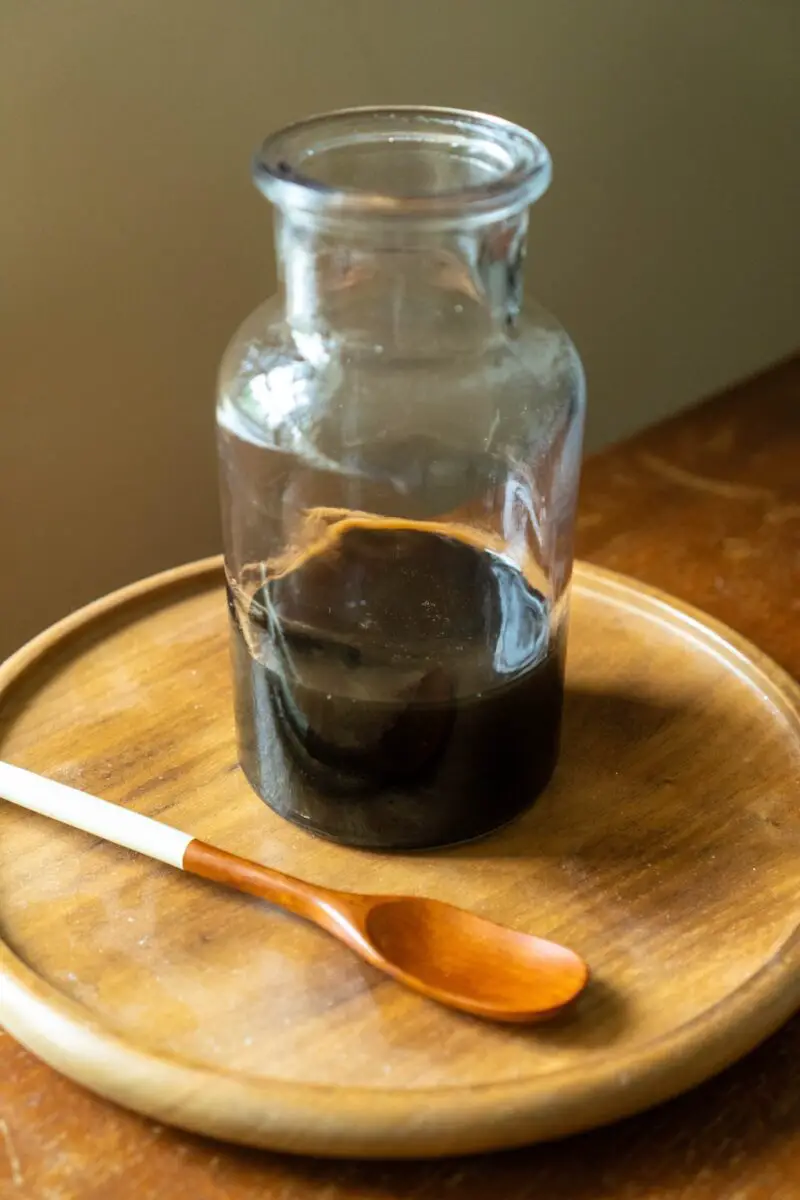
What Is Burnt Sugar Syrup?
Burnt sugar syrup is a deliciously complex sweet treat made using two ingredients. You only need sugar or water.
This thick bitter and sweet syrup can be used over desserts, in coffee, or as an added ingredient to your cocktails. Learn how to make it below!
Burnt Sugar Syrup Ingredient List:
Below, I list the ingredients used to make this recipe.
- Granulated Sugar OR Brown Sugar
- Water
Burnt Sugar Syrup Tips & Tricks:
Here, I list some helpful tips & tricks to help you make this easy syrup recipe. If you have any questions, comment below or email me at [email protected]! I hope these tips help!
- You can use either brown or white sugar. Brown sugar has more of a butterscotch flavor while white sugar has more of a caramel or molasses flavor.
- When adding water to your sugar, use hot water. The hot water helps reduce the amount of splatter caused by boiling sugar syrup.
- You need to stand over this recipe as it cooks. There is a quick tipping point between yummy burnt and burnt burnt.
- DO NOT lick the spoon before the burnt sugar syrup cools. It will coat your tongue and seriously burn it.
Burnt Sugar Syrup Frequently Asked Questions:
Now that we learned about some tips & tricks, I want to answer some questions you may have about this recipe! If I do not answer your question, feel free to leave a comment in the section below or email me at [email protected].
Does This Recipe Contain Major Allergens? (Gluten, Soy, Etc.)
Before listing all of the major allergens, I want to state that all of my recipes are naturally gluten-free. On this blog, I only use and recommend gluten-free ingredients and brands. That being said, I list gluten as a potential allergen when necessary– this is because many Korean ingredients (such as soy sauce, gochujang, and doenjang) contain gluten unless you specifically buy gluten-free versions. Not only is this true for gluten, but it is true for other major allergens as well. As such, I always list allergy substitutions in the next section of my post.
This recipe does not contain 9 of the 9 major allergens. It does not contain:
- Peanuts
- Tree Nuts
- Milk (Dairy)
- Eggs
- Fish
- Crustacean Shellfish
- Sesame
- Wheat (Gluten)
- Soybeans
This recipe does contain 0 of the 9 major allergens.
Is This Recipe Vegetarian or Vegan?
Excitingly, this recipe is both vegetarian and vegan! For those following a vegetarian and/or vegan diet, this burnt sugar recipe is perfect for you! You can use it in your coffees, teas, cocktails, or baked goods!
Where Can I Buy the Ingredients for This Recipe?
For this recipe, you can buy your ingredients at any well-stocked grocery store!
How Do I Store Burnt Sugar Syrup?
To Store this syrup, pour it into an airtight container and place it in the refrigerator.
What Are Some Burnt Sugar Syrup Uses?
Below, I list some uses for burnt sugar syrup. Let me know in the comments below if you make anything with your burnt sugar syrup!
- Boba Tea: Burnt sugar syrup is used in a variety of Boba recipes. Burnt sugar syrup boba tea, known as brown sugar boba tea or tiger milk tea at boba shops, is a popular bubble tea variation. You can buy boba or you can make your own at home!
- Burnt Sugar Syrup Latte: Try making a delicious iced latte recipe using burnt sugar syrup. You can even pour it around the edge of the cup to give that striped look found in boba tea. I have a recipe for a burnt brown sugar latte on my blog!
- Ice Cream: Use burnt sugar in your ice cream to give it a deliciously rich and nutty taste!
- Cocktails: Try making cocktails (such as an Old Fashioned or a Whiskey Sour) using this syrup. It will add a delicious depth to the cocktail.
I Hope You Enjoyed Learning How to Make This Burnt Sugar Syrup Recipe!
In the end, I hope you enjoyed learning how to make this burnt sugar syrup recipe. If so, let me know in the comment section!
If you would like to read more about cooking, you can find recipes as well as further Korean ingredient articles on my blog. I listed some of our favorite Carving A Journey recipes below! For reference, many recipes are influenced by my family’s blended Korean and Southern heritage.
Further Carving A Journey Recipes:
If you have any questions or comments, email me at [email protected]. And, finally, I would love to hear from you through our social media as well! You can follow me at @carvingajourney on Instagram, Facebook, and Pinterest. Or, if you would like more articles like these, you can subscribe to the blog by joining the mailing list. Once again, let me know if you try making this burnt sugar syrup. Thank you so much for stopping by!
Burnt Sugar Syrup Recipe
6
servings5
minutes10
minutesIngredients
1/4 Cup Water
1/2 Cup Granulated Sugar OR Brown Sugar
1/4 Cup Hot Water
Directions
- Combine ¼ cup water and ½ cup sugar in a medium saucepan over medium-high heat. Stir until the sugar dissolves, between 2-5 minutes (depending on if you are using granulated sugar or brown sugar).
- Cover and bring to a boil, about 1 minute. Remove the lid and turn the temperature down to low.
–For granulated sugar, let the mixture sit and bubble without stirring. Approximately 10 minutes.
–For brown sugar, let the mixture sit and bubble without stirring. Approximately 10 minutes. - After 10 minutes, both the granulated sugar and brown sugar versions should be a dark brown color. Remove from heat and stir in the 1/4 cup of hot water (Do not use cold water. It will cause the sugar syrup to splash on you).
- -If either versions becomes watery after adding the hot water, put the mixture back on the stove at a low temperature for another 10 minutes.
- Finally, for both the granulated sugar and brown sugar versions, let the mixture cool and thicken. At this point, if desired, you can add a pinch of salt or a bit of vanilla extract.
- Store in an airtight, food-safe container in the refrigerator for up to a month.
Did you make this recipe?
Tag @carvingajourney on Instagram and hashtag it
Like this recipe?
Follow us @carvingajourney on Pinterest
Did you make this recipe?
Follow Carving A Journey on Facebook
Carving A Journey is a participant in the Amazon Services LLC Associates Program, an affiliate advertising program designed to provide a means for sites to earn advertising fees by advertising and linking to Amazon.com. Although we may earn commissions for our endorsement, recommendation, testimonial, and/or link to any products or services from this website, these opinions are my own and I fully support these products.