")
This post may contain affiliate links. Please read my disclosure for details at the bottom of this page. As an Amazon Associate, I earn from qualifying purchases on this homemade simple syrup recipe article! I hope you enjoy learning how to make homemade simple syrup at home!
Published 08/04/2020 Updated 02/29/2024
What Is Simple Syrup?
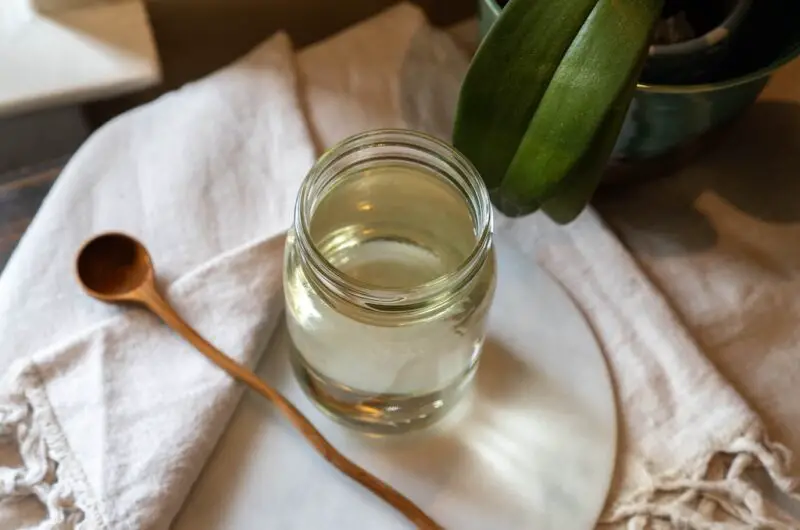
Simple syrup is a liquid sweetener made by dissolving sugar in water. Typically you will see this sweetener made with white sugar but you can make it with brown sugar as well!
Types of Simple Syrup:
Typically, you can find simple syrup in two concentrations:
- The first is equal parts sugar and water, otherwise known and referred to as one-to-one (1:1). This version is most common within the United States.
- The second is two parts sugar to one part water, known as two-to-one (2:1). 2:1 is the U.K. standard in bars.
Quick Hint: If you are in the U.S. and want the 2:1 ratio in your drink, ask the bartender for “rich simple syrup.” If they have it available they will be more than happy to oblige!
Homemade Simple Syrup Ingredient List:
Below, I list the ingredients used to make this recipe. This recipe is the most basic simple syrup you can make. As a result, we only need two ingredients!
Simple Syrup Ingredients:
- Sugar
- Water
How to Make Simple Syrup:
You can make this recipe using two methods: the hot and cold methods. Learn about these methods below!
The Hot Method
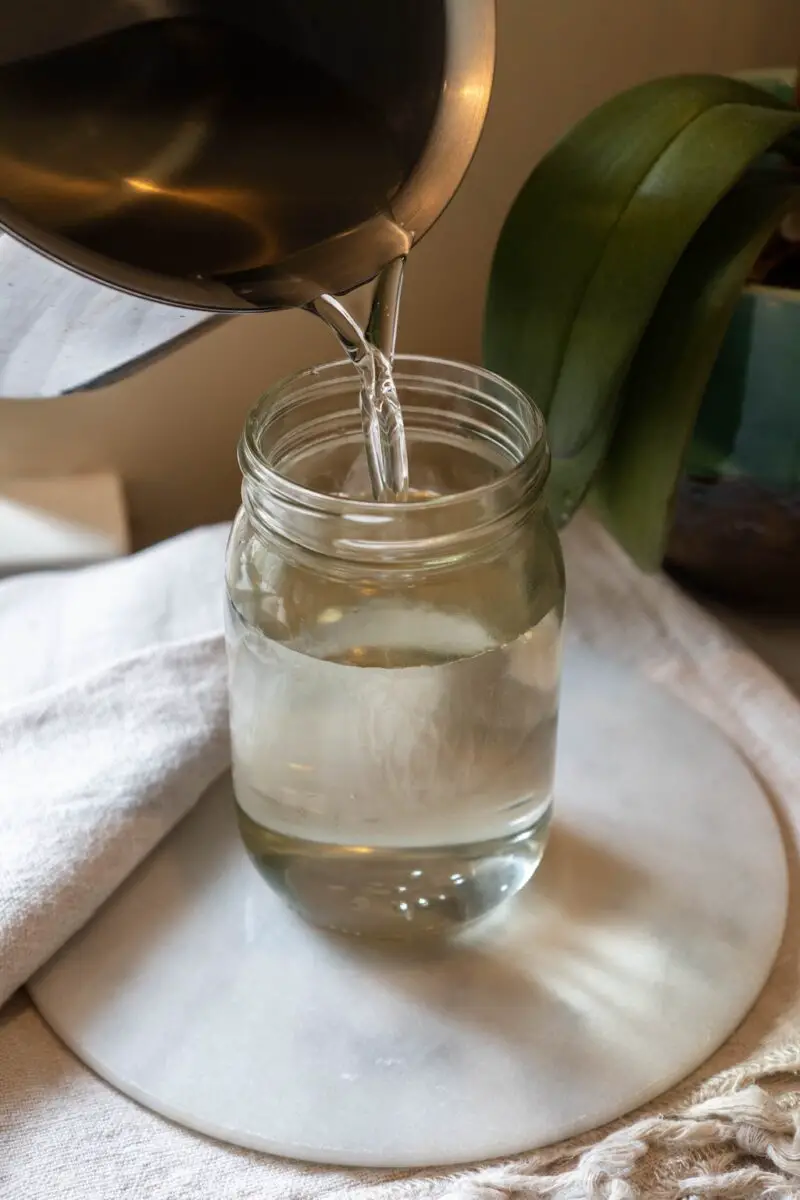
The hot method involves heating the sugar and water in a saucepan while stirring the mixture until the sugar dissolves. Once you completely dissolve the sugar, remove the saucepan from the heat and let the syrup cool. You should not let the syrup boil while using this method. If you do, the water will evaporate and change the ratio.
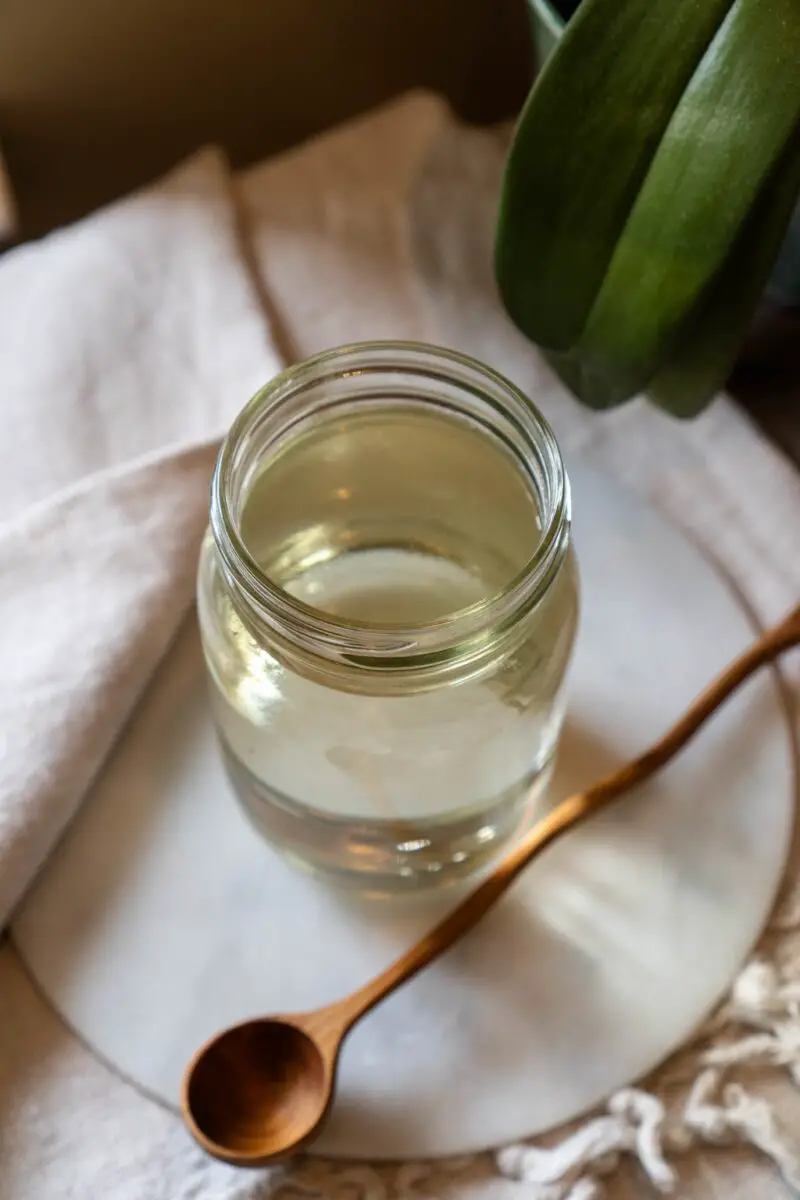
REMEMBER: When jarring something that will be stored for a long time, always sterilize the container. This way, harmful bacteria will be less likely to creep in. To sterilize your jar, bring a pot of water to a boil. Then, carefully lower a glass jar and its lid into the water with tongs. After a few minutes (5 to 10), remove the jar from the boiling water. Place on a clean dish towel and leave to cool.
The jar should be completely cool before placing anything in it or storing it in the refrigerator. Glass shatters with extreme temperature changes. You don’t want sticky simple syrup or glass all over your kitchen!!!
The Cold Method
The cold method involves making simple syrup without heating the water. Using room-temperature water, stir your two ingredients together until the sugar completely dissolves into the water.
For me, I do not enjoy this method as I find that it takes forever. That being said, you may sometimes hear from bartenders that they prefer this method claiming it tastes better. I do not taste much, if not any, difference between the two methods.
If you choose this method, carve out a bit more of your time as it takes longer to make.
Further Simple Syrup Tips & Tricks:
Here, I list some helpful tips & tricks to help you make this incredibly easy homemade simple syrup recipe. If you have any questions, leave a comment below or email me at [email protected]! I hope these tips help!
- Because simple syrup is made using just water and sugar, it can take on the flavors of the water you use. For example, if you can taste sulfur in your water, your simple syrup will have a sulfuric flavor as well. For this reason, it is important to use fresh, filtered water.
- The higher the sugar content the longer the shelf life. So, if you are making a large batch meant to last a long time, I recommend making the 2:1 ratio!
- When making simple syrup, it takes on the flavor of whatever you are cooking with. Therefore, try adding some other ingredients to make flavored simple syrup. Commonly added ingredients include jalapeno and rosemary. You can find autumn spiced simple syrup and strawberry simple syrup on my blog!
- If you do infusions of flavors, make sure to start with a lower temperature and shorter cooking time. The higher the temperature and longer the cooking time of the mixture, the stronger the flavor. While this can be good, it can also lead to inedible intense flavors. Play around with it!
Homemade Simple Syrup Frequently Asked Questions:
Now that we learned some tips and tricks for making this recipe, I want to answer some questions you may have as well! If I do not answer your question, feel free to leave a comment in the section below or email me at [email protected].
What Can You Make Using Simple Syrup?
There are many different ways you can use homemade simple syrup! First, most commonly, you can use this recipe when making cocktails and/or non-alcoholic beverages. At home, I like to use it when making fresh-squeezed lemonade as well as to sweeten iced coffee.
You can also use this recipe when making desserts such as ice cream and baked goods!
Finally, you can use simple syrup to feed hummingbirds via a hummingbird feeder! Why not enjoy a cocktail that uses simple syrup while watching your birds enjoy this recipe as well?! If you make simple syrup for your hummingbird feeders, use should make a 1:4 ratio (1 part sugar to 4 parts water).
Does This Recipe Contain Major Allergens? (Gluten, Soy, Etc.)
Before listing all of the major allergens, I want to state that all of my recipes are naturally gluten-free. On this blog, I only use and recommend gluten-free ingredients and brands. That being said, I list gluten as a potential allergen when necessary– this is because many Korean ingredients (such as soy sauce, gochujang, and doenjang) contain gluten unless you specifically buy gluten-free versions. Not only is this true for gluten, but it is true for other major allergens as well. As such, I always list allergy substitutions in the next section of my post.
This recipe does not contain 9 of the 9 major allergens. It does not contain:
- Peanuts
- Fish
- Crustacean Shellfish
- Eggs
- Milk (Dairy)
- Sesame
- Tree Nuts
- Wheat (Gluten)
- Soybean
This recipe contains 0 of the 9 major allergens.
Is This Recipe Vegetarian or Vegan?
Excitingly, this recipe is naturally vegetarian and vegan!
Where Do I Buy the Ingredients?
You can buy all of the ingredients needed for this recipe at your local well-stocked grocery store or online!
If you do not want to make your own, you can also buy simple syrup online or via your local store. Some simple syrups even come with bitters and flavors included!
How Do I Store Leftovers?
When prepared and stored properly, simple syrup has an excellent shelf life.
If you use the hot method to make a 1:1 ratio of simple syrup, you can keep it in the refrigerator for up to a month. For a 2:1 ratio of simple syrup, you can keep it in the refrigerator for up to 6 months.
If you use the cold method, your simple syrup will spoil more quickly. Therefore, keep an eye on it as you don’t want to use rancid simple syrup.
How Do I Know My Simple Syrup Has Gone Rancid?
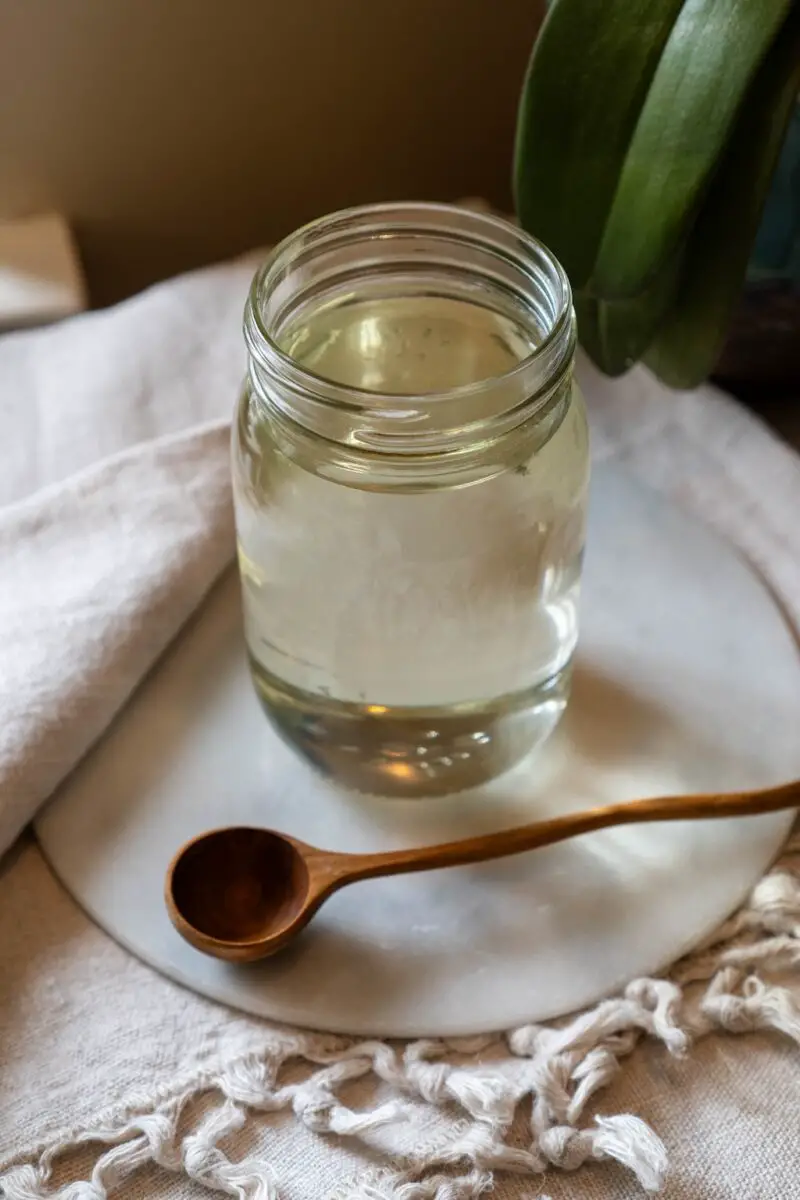
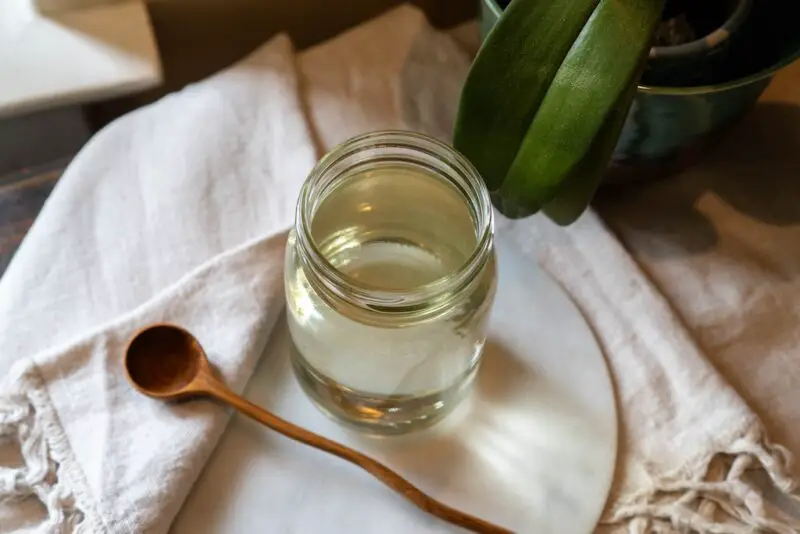
I recommend throwing away your homemade sweetener if you see any crystallization, cloudy appearance, or if it has any type of ‘off’ smell. Further, you should throw it away if it contains any type of mold growth.
I Hope You Enjoyed Learning How to Make Homemade Simple Syrup!
In the end, I hope you enjoyed learning how to make homemade simple syrup at home. If so, let me know in the comment section below. Also, how do you like to use your homemade simple syrup?
If you would like to read more about cooking, you can find further recipes on this blog. I listed some of my favorite Carving A Journey recipes below! For reference, many recipes are influenced by my family’s blended Korean and Southern heritage.
Further Homemade Simple Syrup Recipes:
If you have any questions or comments, you can also email me at [email protected]. And, finally, I would love to hear from you through our social media as well! You can follow me at @carvingajourney on Instagram, Facebook, and Pinterest. I also started a vlog YouTube channel with my husband! Or, if you would like more articles like these, you can subscribe to the blog by joining the mailing list. Let me know if you try making homemade simple syrup! Thank you so much for stopping by!
How to Make Simple Syrup at Home
12
servings1
minute5
minutesFor my simple syrup, a serving is approximately 2 Tablespoons. This recipe yields 1 1/2 cup of simple syrup which is 24 Tablespoons.
Ingredients
1 Cup Sugar
1 Cup Water
Directions
- Add sugar and water together in a saucepan. Heat on medium-low heat.
- Continuously stir until the sugar is dissolved. Do not let the mixture boil. You will not it is completely dissolved when the liquid becomes see through rather than murky.
- Pour into a container and seal tightly with lid. Let cool on the counter before transferring to the refrigerator.
Did you make this recipe?
Tag @carvingajourney on Instagram and hashtag it
Like this recipe?
Follow us @carvingajourney on Pinterest
Did you make this recipe?
Follow Carving A Journey on Facebook
Carving A Journey is a participant in the Amazon Services LLC Associates Program, an affiliate advertising program designed to provide a means for sites to earn advertising fees by advertising and linking to Amazon.com. Although we may earn commissions for our endorsement, recommendation, testimonial, and/or link to any products or services from this website, these opinions are my own and I fully support these products.