
Across the south, the cast-iron skillet still remains an essential piece of cookware in every household’s kitchen. You will find it sitting in a place of honor, front and center on the stove, or stashed away neatly in the oven, always close at hand. Its ability to conduct and evenly distribute heat lends to its success in continuing to be used despite its cumbersome weight and care process.
You can bake, braise, fry, roast, sear, and stew in this versatile piece of cookware, so if you know how to handle a cast iron correctly, it is worth taking care of!
What is Seasoning?:
Close your spice cabinet and put away your favorite herbs. Why? Seasoning a cast iron has absolutely nothing to do with your herbs and spices.
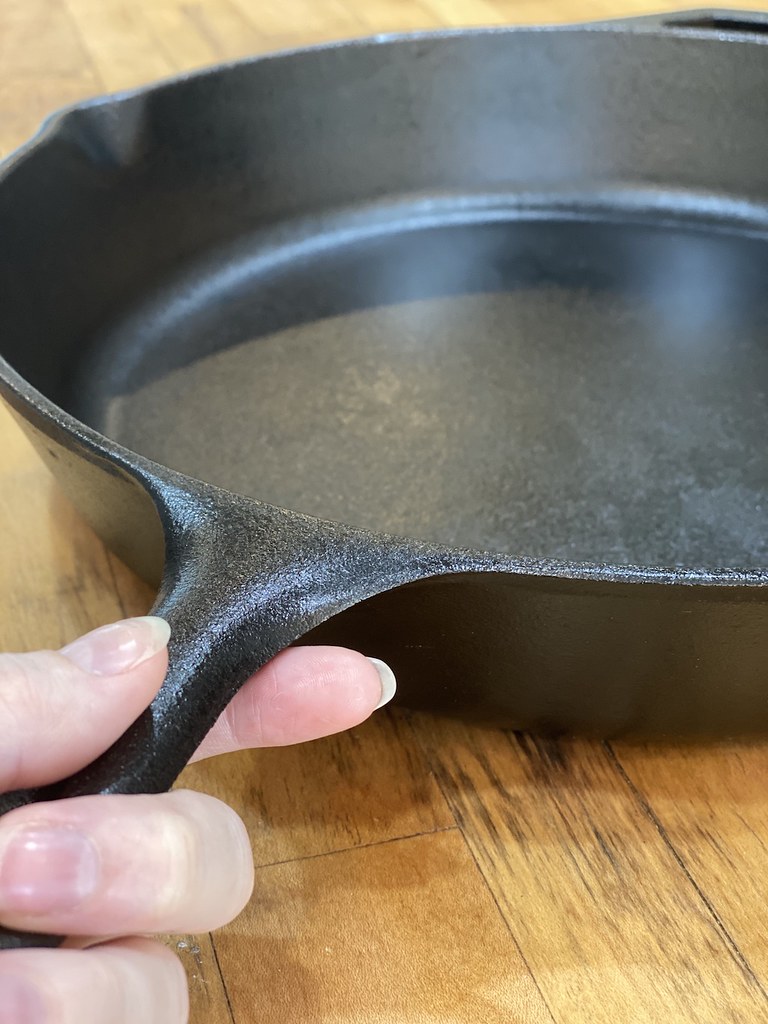
Cast-iron, when newly made, has a porous surface. This surface is not conducive to cooking, as it causes food to stick and absorb into the pan. Seasoning is the process of baking oil into the crevices of the cast-iron to make a smooth cooking surface and prevent the pan from rusting. This seasoning is what gives the pan that classic black and glossy patina. It also makes the cast-iron nonstick!

Here’s the science: When oil is heated in the cast-iron, the molecules bond with the metal through a process called polymerization. This process is what creates a layer of seasoning. As you cook with the pan regularly, this process continues to take place, creating a well-developed, strong, and durable layer of seasoning that becomes more and more nonstick and resistant to rusting.
So, guess what y’all? If you take care of cast-iron properly and use it often, a single well-seasoned skillet can and will be passed down for generations.
Your Seasoning Oil:
Like barbecue sauces, the oil used to season a cast-iron is a subject of contention in the south. Lodge, arguably the most famous cast-iron maker in the U.S., has an amazing chart available on the subject, which you can find here. It is a great resource in choosing your cast-iron seasoning oil.

Most instructions on the internet these days recommend seasoning a cast-iron skillet with vegetable oil or some other plant based oil. This allows those who are vegetarian, vegan, or kosher safe use of the cast-iron skillet, which is a great improvement from cutting out entire groups of people by using animal fats. In our household, we have two skillets. One seasoned with vegetable oils, the other with animal fats.
Lodge, the cast-iron gurus located in Tennessee, pre-season their cast-irons for you. It is important to note that they use soy to season their cast-irons. Lodge states that all proteins which cause soy-related allergies are eliminated through their process. This is great to know for those with a soy allergy! You can purchase lodge products on Amazon for ease and convenience!

Purists prefer the traditional method: lard. Lard, otherwise known as animal fat, has been used for generations as the seasoning of choice. In the past, we have used strained excess bacon grease or leftover pork belly fat from samgyeopsal Korean barbecue parties to season ours. But, here is the catch, we only recommend animal fat if you use your cookware FREQUENTLY. If the cookware is stored for too long, animal-based fats can go rancid. Just a little food for thought when making your choice.
In the end, whichever oil you choose, it is important to heat your pan to the oil’s smoking point. It is at this point that a chemical reaction occurs, allowing the oil to bond to your pan and create that natural layer of seasoning.
Cleaning Your Cast Iron:
For the most part, you do not need to use soap to clean your cast-iron. Instead, use large grain salt and steel wool. Simply scrub your pan with salt and steel wool until all the sediment is off. Rinse off the pan, and then ensure it’s completely dry. You can reheat the pan to dry faster (for all you lazy folks out there). Then, wipe down the pan with bacon grease or your choice of oil.
If, and only if, you cannot get the food off the pan, go ahead and wash it with soap and water. Dawn soap can save your dishes, pans, and clothes from all sorts of stain and sediment disasters. Dry immediately and add a layer of oil to the entire pan. Soap is not preferred, as it works to remove all your hard work of seasoning. Use as a last resort, only if you’re unable to clean your pan with good old fashioned elbow grease.
DO NOT put your cast iron into the dishwasher. It is a death sentence to a pan that would normally live on for generations.
Other options:
Some of us out there do not like dealing with the care of cast-iron. That is okay, it is not for everyone. The French have actually developed two versions of coated cast-iron that are Idolized in kitchens in and out of the States.
If you want the heating ability and evenness of the cast-iron without the hassle, Le Creuset and Staub may be the answer for you.
Le Creuset is enamel coated cast-iron. This coating allows for a surface that does not need to be seasoned or cleaned with salt. Instead, you can treat it like other pans. It can be washed solely with dish soap and water. Le Creuset claims it is dishwasher safe, but these pans are expensive. I prefer to tell people to hand wash instead. So, it has the perks of other pans, and still has all the perks of cast iron. Win, win, right? (Further buying options here for their classic dutch oven style dish!)
Staub is another enameled coated cast-iron. While Le Creuset has the famously cream interior, Staub has chosen to maintain the black interior. These pans are also completely coated, so it has all the perks of other pans and the cast-iron as well! (Further buying options here for Staub’s classic style dish!)
In the end, a skillet will take care of you if you take care of it. It will be passed down for generations, often used to make your traditional family recipes. Someday, your children and grandchildren will learn to cook and care for your skillet. Memories will be made in that kitchen. My memories are of bacon, eggs, and livermush cooked in the sizzling skillet during the long drawn out summer mornings, all gathered in my grandmother’s kitchen. Those mornings would soon blend into afternoons when we would run down the hill to jump into the lake. We always knew our dinner, cooked on the grill or in the skillet, would be waiting when we returned from our childhood lakeside fun. Our memories, like oil, are baked into the cast-iron skillet.
Personally, my husband and I prefer flaxseed oil per Cook’s Illustrated recommendation when seasoning a skillet. This last time, we had to use already owned vegetable oil instead of going to the store during this very scary COVID-19 crisis.
Step-By-Step Skillet Seasoning with Animal Fat:
- When using animal fat, place a thin layer of water (based on the Garden & Gun guide it should be about ⅛ inch of water) at the bottom of your cast-iron, then add the fat.
- Place the skillet in the oven set to 225 degrees or on the stove over low heat.
- Melt the fat slowly. This should take at least an hour, sometimes longer.
- Further steps when cooking with animal fat: the solid matter will turn brown and sink to the bottom. These brown bits are also known as “Cracklings.” When this happens, strain the fat into a glass jar with a tight lid. After the fat has cooled, store in the fridge. You have just rendered lard which can be used in old southern recipes like biscuits. If not using animal fat, this information won’t help you.
- After each use, whip your skillet with grease or oil. If you must wash it to remove food, use cold water and brush. NEVER put the skillet into the dishwasher.
Step-By-Step Skillet Seasoning with Oil:
- Before seasoning, if there is any rust or residue, scrub the cast-iron with wool steel and kosher salt. If you have to use water, you can do so.
- Warm your now unseasoned pan for about 15 minutes in a 200-degree oven. This will open the pores.
- Remove the pan from the oven. Place 1 tablespoon of oil in the pan. Using tongs or carefully using hands, rub the oil into the surface with paper towels. Your pan should not be drenched in oil. Wipe off all excess oil.
- Place the oiled pan upside down in the cool oven. Set the oven to 500-degrees temperature. Once the oven reaches maximum temperature, leave it for an hour.
- Turn off the oven and let the pan cool in the oven for at least two hours.
- Repeat the process until the pan develops the glossy patina.
@carvingajourney on instagram, twitter, facebook.
Carving A Journey is a participant in the Amazon Services LLC Associates Program, an affiliate advertising program designed to provide a means for sites to earn advertising fees by advertising and linking to Amazon.com. Although we may earn commissions for our endorsement, recommendation, testimonial, and/or link to any products or services from this website, these opinions are my own and I fully support these products.
2 comments
thank you
could you please tell me how often you should season the cast iron pan? Is it after every use, or monthly or yearly…
Lodge recommends a few times a year–it honestly depends a lot on the condition of the cast iron and how often you use it. I use mine a few times a month, and I season mine three to four times a year. Seasoning naturally develops as you cook but can be destroyed if you scrub out your pan.