
When learning to cook in a Korean kitchen, you will need to master how to prepare different side dishes, otherwise known as banchan, as they are present during every meal. You may not be familiar with many, but I guarantee you have heard of at least one Korean banchan… You have heard of kimchi, right? (Side Note: If you follow our blog, you may have also recently read about gyeranjjim, an egg-based accompaniment often served with Korean barbecue.) Well, today we are talking about another common side dish–Korean pickled garlic!
On a typical Korean table, there are different types and styles of side dishes. You may think that kimchi just means pickled cabbage, but that is actually not true. Kimchi can be made out of radish, spring onion, cucumber, and more, and is actually an entire category of banchan all on its own.
You can classify whether or not something is a “kimchi” based on the processing of the dish–the technique of fermenting a vegetable through the use of salt and a brine.
Our recipe for today, Korean pickled garlic, falls into a completely different category of side dish which we have not previously written about on the blog–Jangajji (장아찌)! But, what exactly is that?
What is Jangajji (장아찌)?
Jangajji is a type of banchan made by pickling vegetables. Unlike kimchi, this category does not involve the process of fermenting vegetables.
Instead, your choice of fresh produce is pickled in soy sauce, vinegar, soybean paste, and/or chili paste. While kimchi would be analogous to the western sauerkraut, Jangajji could be comparable to that of any type of western pickles whether it be cucumber or okra.
Some common produce used to make jangajji includes radish, cucumber, chili pepper leaves, garlic scapes, perilla leaves, etc. This particular dish we are cooking today is called “Maneul Jangajji” a.k.a. pickled garlic.
Why pickle garlic? For the preservation, flavor, and health benefits.

The Purpose of Preservation
Jarring, canning, and pickling all have one thing in common–the preservation of food for an extended period of time in order to consume in the future.
While modern conveniences, such as a refrigerator and the grocery store, make preservation less important in our own kitchens, such foods are still common in our diet today. We don’t sit and prepare salted meat to get through the winter, but we still enjoy it on our charcuterie boards.
Food preservation prevents the growth of microorganisms (such as yeasts, bacteria, fungi, etc.) and slows the oxidation of fats that cause rancidity. You may not know it, but many foods consumed in your everyday life have gone through some sort of a preservation process whether through methods passed down through generations (like pickling) or through modern engineering (additives through chemical manufacturing).
Fermenting kimchi promotes the growth of probiotics and microorganisms in a controlled fashion while pickling jangajji slows and prevents the growth of those same microorganisms to preserve the produce.
The Flavor of Korean Pickled Garlic
Maneul Jangajji is incredibly addictive to eat. Chewy in texture, it is one of those dishes that have a fun mouth feel. When biting down the garlic still maintains that crunchy snap even after being pickled. Before you know it, you will be absent-mindedly popping these suckers into your mouth with your chopsticks (make a mental note to practice your chopstick skills because these can slip out easily!).
Though the garlic flavor slightly dulls, it still maintains its deliciously pungent spice. The pickling liquid adds a layer of sweetness and saltiness that mingles together into a delicious umami fusion.
Personally, when trying this for the first time, I recommend having it with Korean samgyeopsal barbecue. Take some lettuce, a bit of rice, some pork belly, some ssamjang, and a piece of garlic into a wrap. Stuff it into your mouth and enjoy with some soju.
If you are wondering how to make the ssamjang dipping sauce, check out our Korean dipping sauce blog post!

The Health Benefits of Garlic
I first want to preface this by stating I am not a doctor. I do not claim to be an expert in the medical field. Though that is the case, I believe we can all agree that eating fruits and vegetables is healthier than eating overly processed food.
Below are some of the potential and proven health benefits of garlic:
- Promotes heart health–Garlic protects the heart by reducing cholesterol and blood pressure.
- Fights the Common Cold– Some limited studies have shown individuals eating garlic supplements were potentially less likely to get a cold. Just remember that garlic cannot replace cold medications!
- Combats Cancer– Evidence suggests that garlic contains cancer-fighting characteristics. Its phytochemical content can help prevent cancer and slow its progression.
…And last, but definitely not least:
- It fends off the supernatural such as Vampires– obviously, this will come in handy with Halloween just around the corner.
Some Tips to Help With the Garlic Pickling Process:
Before I get started on the tips, below are links to some items you will need to make Korean Pickled Garlic. You will need jars, soy sauce, sugar, and apple cider vinegar. If you enjoy making pickles, I also added a popular book to my recommendations.
How to Peel Garlic Quickly and Easily
Beyond the daunting task of pickling something for the first time, I know many of you may skip trying this recipe because garlic can be a pain to peel. Not to toot my own horn, but I know a thing or two about peeling garlic quickly, easily, and efficiently–recently I wrote a blog post sharing all my tips, tricks, and secrets in getting it done without hassle.
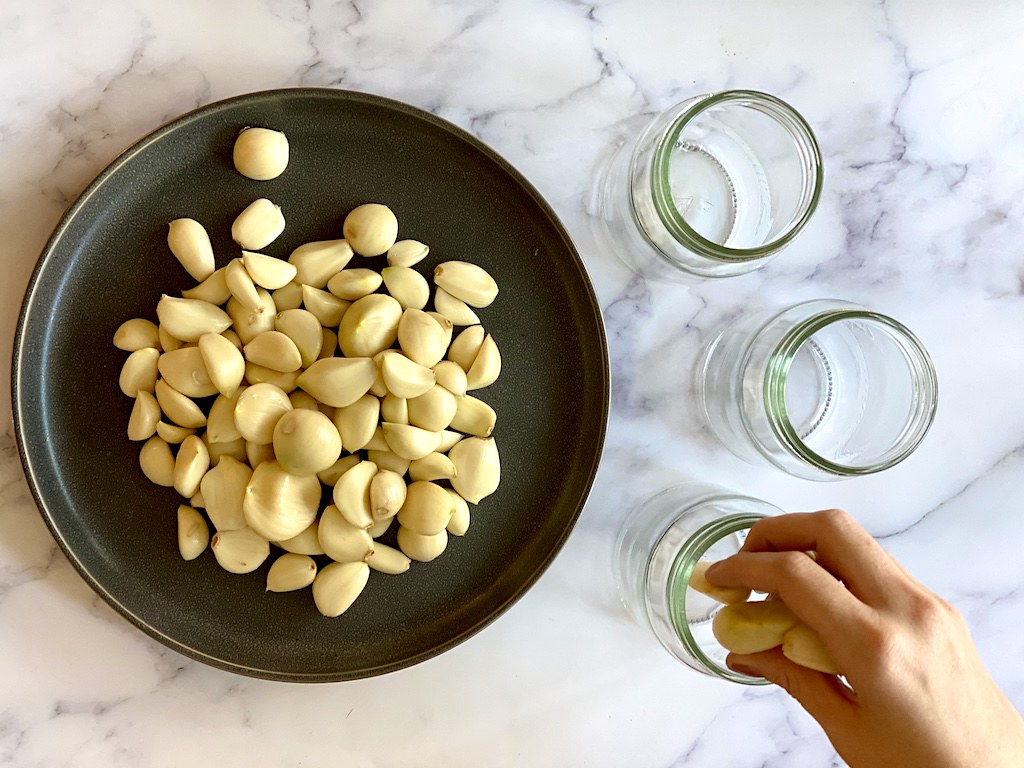
For this recipe, I recommend a method that can peel a lot of garlic all at once. For example, the shake method, which uses a jar (you will need to pull out jars for this recipe already!). Or, I recommend Nadiya Hussai’s hot water method, as you can throw in A LOT of garlic at one time. (I am using the latter for this post.)
How to Sanitize Your Jars
When jarring something that will be stored for a long time, ALWAYS sterilize the container. I cannot emphasize this point enough. Without sterilization, harmful bacteria, fungi, and mold can creep into the container causing you to become ill when consuming the contents.
To sterilize your jars, bring a pot of water to a boil. Carefully lower the jars and lids into the water with tongs. After a few minutes (5 to 10), remove the jars from the boiling water. Place on a clean dish towel and leave to cool.
The jar should be completely cool before placing anything in it or storing it in the refrigerator. Glass shatters with extreme changes in temperature. You don’t want a sticky mixture of vinegar, soy sauce, sugar, and garlic over your kitchen!
How to Store Your Korean Pickled Garlic
Before eating, store your garlic at room temperature out of the sunlight for two to three weeks. It takes this long for the pickling process to take place.
Sometimes, while pickling, the garlic will take on a bluish hue. You may have heard of the term “laba garlic.” It can even go as far as turning into a true turquoise! This is perfectly normal and is not mold. Part of the reason for garlic turning blue is the exposure to light during the pickling process. As long as there is no strange mold growth and the jar lid has not popped up, it is perfectly fine.
Once you opened the garlic, place in the refrigerator. The garlic will keep for a few months.
Making Your Korean Pickled Garlic Allergen Friendly
Unfortunately for many, eating Korean and other Asian food can be difficult because of allergies and other dietary restrictions. Thankfully, this recipe can easily be converted to gluten-free, soy free, etc.
Gluten-Free Korean Pickled Garlic
Many people do not know that most soy sauces contain wheat. Thankfully, many alternatives are available for those with a wheat allergy, gluten intolerance, or celiac disease.
Many companies make a gluten-free soy sauce version for those who cannot handle wheat. Tamari, a certain Japanese style soy sauce product, is typically gluten-free. Coconut aminos can be a good choice as well (I honestly cannot taste the difference in flavor)!
Below are some links to gluten-free soy sauce products to use in this recipe. I will be using these as well as I have celiac disease!
Note: One of these options below is a pack of traditionally made gochujang, doenjang, and Korean soy sauce. The pack is entirely gluten-free and I highly recommend if you plan on making a lot of Korea food at home. I buy it often!
Soy-Free Korean Pickled Garlic
Soy allergies are also incredibly common. Thankfully, there are alternatives! Coconut aminos comes from fermenting coconut palm and sea salt. The flavoring tastes similar to that of soy sauce. Please use this to make Korean Pickled Garlic if you cannot eat soy.
And hey, if you have already noticed, for those who are gluten- and soy-free, coconut aminos is the option for you!
Vegan and Vegetarian Korean Pickled Garlic
This recipe is naturally vegan and vegetarian! Yay! A great dish to add to your vegan Korean recipe options. I promise to add more on the blog down the line.
Korean food actually has a lot of vegan and vegetarian options as there is a huge population of devote Buddhists in Korea. Temple food is an entire genre that I hope to explore soon.
If you have further dietary restrictions that you would like to ask about, feel free to reach out!
Let us know if you make this at home. If you do, make sure to comment and tag us on Instagram. You can follow us at @carvingajourney on Instagram, Twitter, Facebook, and Pinterest.
)
Korean Pickled Garlic (Maneul Jangajji)
8
servings10
minutes20
minutesLiquid fills two 16-ounce mason jars (If you fill jars 2/3 full of garlic). If you fill the jars completely with garlic, the liquid can fill up to 3 jars.
Ingredients
10 Heads of Garlic
1 Cup Water
1 Cup Sugar
1 Cup Soy Sauce
1 Cup Apple Cider Vinegar
Directions
- First sanitize jars: boil jars and lids in water for 5 to 10 minutes. Let cool on a clean towel.
- Peel 10 heads of garlic. Fill jars with garlic.
- Bring 1 cup water, 1 cup sugar, and 1 cup soy sauce to a rapid boil.
- Turn off heat, add 1 cup of apple cider vinegar. (You should turn off the heat because vinegar burns off quickly.)
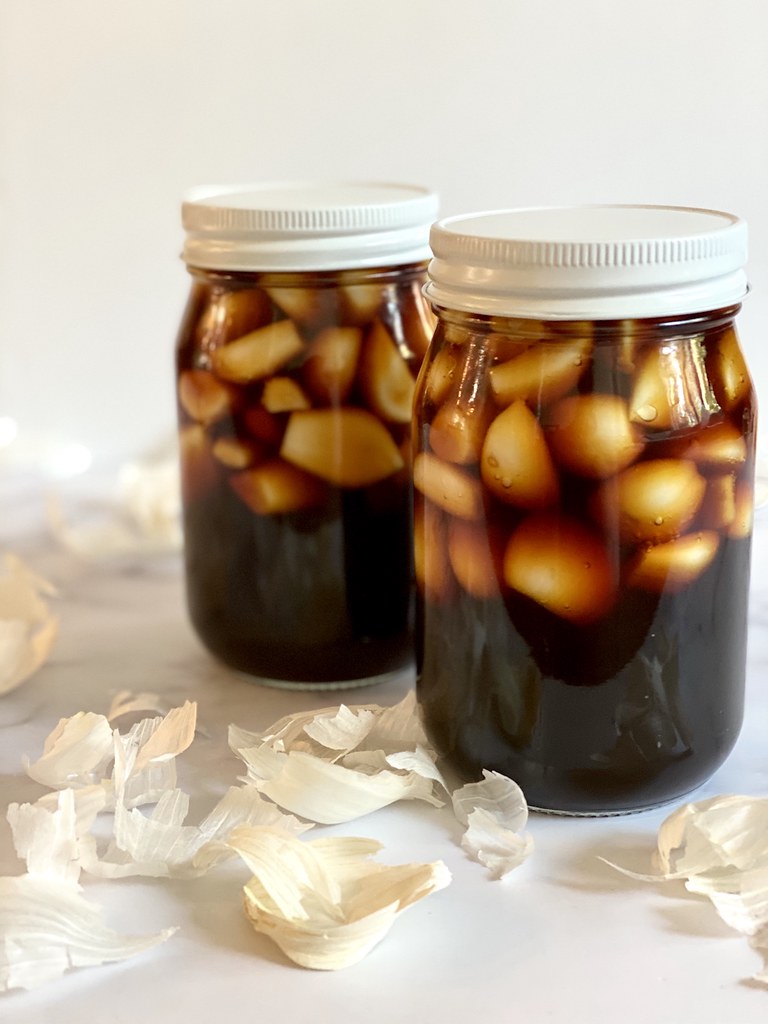
- Pour the boiling hot liquid into the jars of garlic. Submerge the garlic completely.
- Tightly screw on the lids. As the liquid in the jars cool, the lids will seal tight.
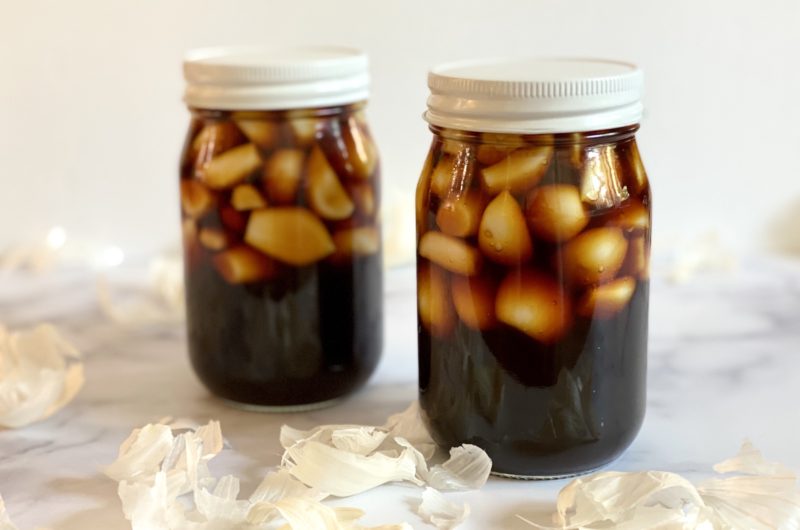
- Leave at room temperature for AT LEAST two weeks in a dark space. I recommend you wait for about four weeks.
- Once you open jars, transfer to refrigerator. Can keep for a couple of months.
Notes
- It is normal for the garlic to turn a blue-ish color during this pickling process. Usually, the blue hue comes from reaction with light. Further explanation in the blog post body.
- Gluten-free and soy-free versions are available at the end of the blog post body. Scroll up a bit for the explanations!
Did you make this recipe?
Tag @carvingajourney on Instagram and hashtag it
Like this recipe?
Follow us @carvingajourney on Pinterest
Did you make this recipe?
Follow Carving A Journey on Facebook
Carving A Journey is a participant in the Amazon Services LLC Associates Program, an affiliate advertising program designed to provide a means for sites to earn advertising fees by advertising and linking to Amazon.com. Although we may earn commissions for our endorsement, recommendation, testimonial, and/or link to any products or services from this website, these opinions are my own and I fully support these products.
4 comments
My latest jar of this has been in the cupboard for four weeks. I followed the recipe exactly, except I used coconut aminos instead of soy sauce. Today I opened the jar and it was fizzing like a can of soda. Is that a sign of it fermenting or is it bad, like botulism? Thanks for your help.
Hi Joe!
Thank you for your question. Before answering, I wanted to quickly ask about the level of fizziness. Before opening, was the jar lid bulging up or did it remain properly sealed with the center pressed down? Then, did the fizz overflow out of the container when opened or did it just fizz around the corners?
Typically, a little fizz is perfectly normal. If there is too much, I recommend throwing out that particular jar because bacteria may have gotten into it during the canning process. I always recommend being safer than sorry. If the jar was bulging before you opened it, that means it wasn’t sealed properly or bacteria/botulism may have occurred.
Let me know!
How long will this last, unopened? Can it be canned using the hot water bath method?
Hi! Unopened, these can last a few months (3-5 months) in the pantry. The raw garlic is preserved in the salty soy sauce mixture. When it comes to the canning method, I do not recommend lowers the filled jars back into the boiling water in the hot water bath method. The containers hold raw garlic that will become mushy when boiled in the hot water. Instead, I sanitize the jars. Then, I fill the jars and let them sit to cool. The jars will make a popping noise as they seal tight. Let me know if this answered your questions!