
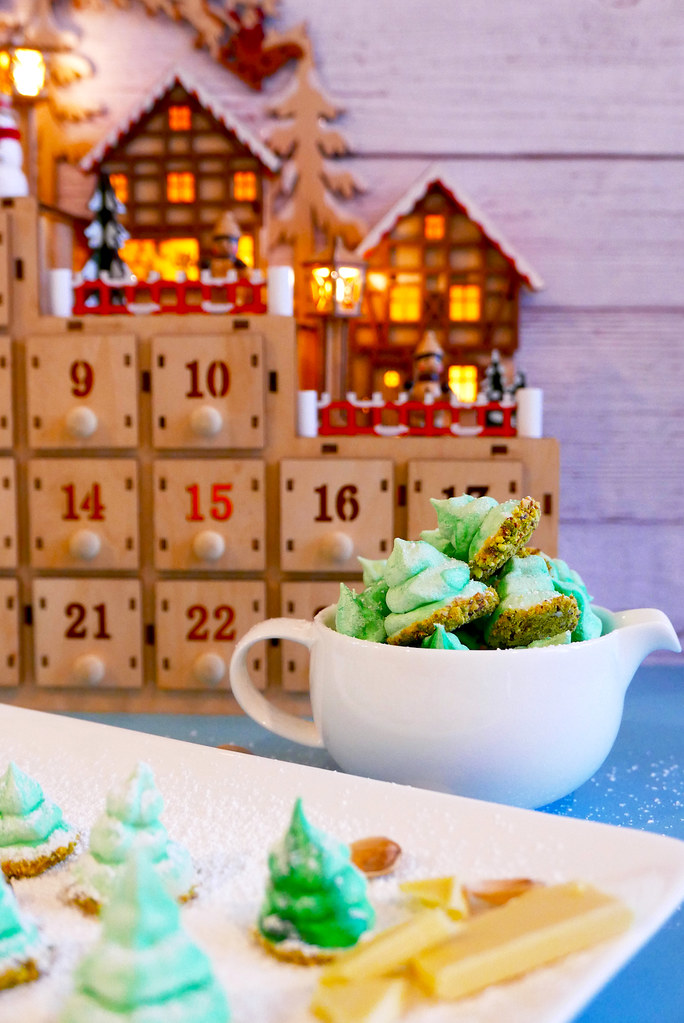
Holiday cookie season is here! Let the baking begin! This week, we decided to do a twist on the classic meringue cookie recipe. If you add a little bit of green food coloring, shape your cookies into a cone, and dip them into some white chocolate and pistachios, you no longer have a plain cookie. Instead, you have rustic meringue Christmas tree cookies!
How many of you started pulling out your baking books and family recipe binders this week? Holiday baking always begins with Thanksgiving, when everyone makes their traditional family pies and casseroles. Then, the cookie season starts. I can never wait until after Thanksgiving. Like me, how many of you peaked ahead at holiday cookies while preparing your Thanksgiving grocery list? Raise your hand if you did! After all, ‘it’s the most wonderful time of the year!’
To kick off the cookie season, we wanted to do a take on the classic meringue by baking meringue Christmas tree cookies.
What Are Meringues?
A meringue is a cookie or candy traditionally made by whipping together egg whites and sugar. Depending on the recipe and country of origin, a traditional meringue can also include an acidic component such as lemon juice, vinegar, or cream of tartar.
There are three types of meringues: Swiss, French, and Italian. The method for mixing the sugar and egg whites differ in each type. For this recipe, we will focus on the basic French version of a meringue: simply whisking sugar into room temperature egg whites slowly.
I know meringue cookies can look daunting. After all, meringues are notarially finicky, but once you get a rhythm, they are easy enough! Let’s learn how to successfully make a meringue below!
How to Successfully Make a Meringue:
First, let’s establish the definition of a truly successful meringue cookie. Meringues need to bake slowly over an extended period. Eventually, the slowly baked meringues turn into light and airy cookies that are crunchy and crisp in texture. Your meringues should crumble in your mouth when you bite down. If your meringues are chewy and sticky in your teeth, they did not bake or rest long enough in the oven.
Note: If your meringues are chewy, do not fret. Most home-baked meringues do not get as crispy as those found in commercial and professional kitchens. They are still yummy even if they are chewy in the center!!!
Tips for a Successful Meringue
Now that we have defined a successful meringue, let’s go over on how to properly execute our crunchy cookies. The list below outlines the most important part of meringue baking, and how your meringues can go wrong.
1. Preparing Egg Whites
First, start checking your bowl. There should be no moisture or water in your bowl or on your mixer at any point during this process. If you have moisture, your mixture will fall flat. Prepare your egg whites after checking for moisture.
When separating your egg whites from your egg yolk, I recommend using a separate bowl and transferring the egg white one at a time. If you break the egg yolk into your bowl of egg whites, you will have to start cracking eggs all over again. The smallest amount of yolk will ruin any chance at making a successful meringue.
Finally, when preparing the egg whites, remember they must be room temperature. Cold eggs can cause you to lose volume when whipping the sugar and egg whites.

2. Incorporating the Sugar and Stiff Peaks
Before incorporating sugar, start by whipping your egg whites slowly with a hand or standing mixer until the egg whites are frothy and foamy.
Once the egg whites are frothy, increase the speed, and add sugar, 1 TBSP at a time. Your meringue will collapse if you dump all the sugar in at one time. Collapsing means meringue failure. You need the air for it to turn into a crispy and light cookie!
Continue to mix at high speed until all your sugar is incorporated and the mixture has glossy white “stiff peaks.”
A stiff peak means that when you stir the mixture, a mountain-like peak appears and holds its structure without falling back on itself. You should literally be able to hold the bowl upside down over your head and trust none of the mixture will fall, pour, and/or drip out.
3. Do Not Lose Your Air
This is extremely important! DO NOT LOSE YOUR AIR! You have spent the last 15 minutes slowly whipping in a cup of sugar. You waited patiently until you gained “stiff peaks.” So, do not lose it!
What do I mean by “losing” the air? After making stiff peaks, you need to fold-in food coloring, vanilla extract, and whatever else you are mixing for your meringue cookie. If you mess with the mixture too much, you will lose all the air and it will fall flat. Your meringue will no longer be able to hold a shape and will turn into a flat, dense, and chewy cookie. OH NO!
When mixing in any last ingredients, fold the batter into itself with a spatula. Do not beat the air out of the batter by mixing with a whisk. Trust me. Carefully folding the batter is probably the most critical piece of advice I can give you. I cursed and threw my collapsed meringues into the sink countless times because I got to this point and got impatient/sloppy. When making meringues, fold carefully and treat the batter like a fragile cloud!
Also, be careful when placing your meringue into your piping bag. Once again, do not try to add too much into the piping bag at one time. Instead, pipe in batches if you need to!

5. Bake Low and Slow
You should bake your meringues at 225°F for 1 hour. Once you finish baking the meringues, turn off your oven and leave to set for AT LEAST another hour. Afterward, check your meringue to feel if they are nice and crispy.
If they are sticky and chewy, turn your oven back on for another 10-20 minutes. Once again, turn your oven off and leave for another hour while your oven cools.
You should not disturb your cookies during the cooking and setting times. Like every other possible mistake, this can cause your cookies to collapse. Just let them cook. If you need to check, turn on your oven light. Do not open your oven!!
There you have it, all of my tricks for making a perfect meringue cookie! Soon, after gaining practice and learning about how to make the three styles of meringues, you will be able to expand into specialty meringue cookies, macarons, pavlovas, baked Alaska, and more!
If you are ready to expand, try making our French Coffee and Vanilla Buttercream Macarons. They are delicious and perfect as a side to afternoon tea or coffee.

Meringue Christmas Tree Cookies
Our meringue Christmas tree cookies take the basic french meringue recipe and add three new elements:
- Green Food Coloring. You add the green food coloring when folding in your vanilla extract. You only need a few drops to make the cutest little Christmas trees! If you want to add a dark green strip like we did on some of our cookies, just let some green food coloring drip down your piping bag.
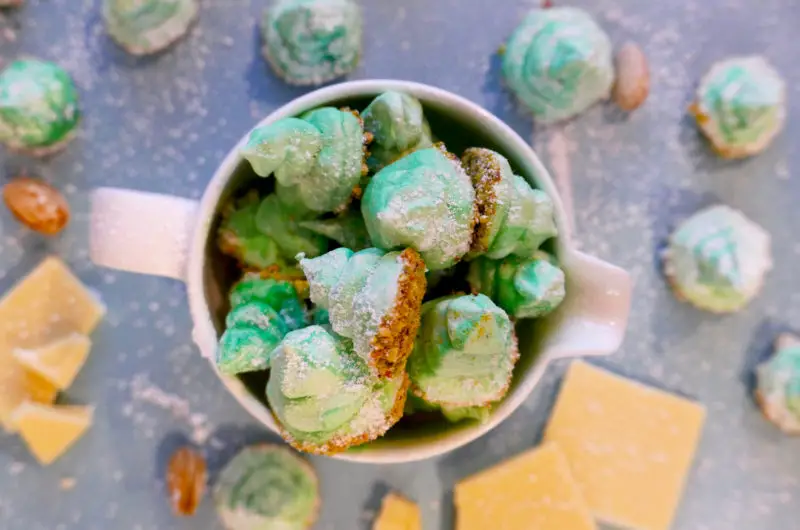
- White Chocolate. Once our meringue Christmas tree cookies bake, set, and are cooled, we dipped them into white chocolate. This adds a delicious layer to our cookies!
- Toasted and Ground Pistachios. Right after dipping into white hot chocolate, dip your cookie into your ground pistachios. The pistachios will stick to the white chocolate. This gives a toasted, nutty, slightly salty flavor to our Christmas cookies!
We also have a few optional add-ons to our meringue Christmas tree cookies:
- Powdered Sugar– When serving your cookies, dust with powdered sugar. This gives your Christmas tree cookies a snow-capped or flocked look! So pretty!
- Sprinkles– If you would like, add sprinkles to your cookies before baking. The sprinkles look like little ornaments on a Christmas tree! You can even get little star sprinkles to top your little trees. We personally did not add sprinkles because gluten-free and celiac-friendly sprinkles can be hard to come by. (If you know any gluten-free sprinkles, let us know in the comments below!) Other sprinkles are listed below on Amazon:

Do You Have Any Favorite Holiday Cookie Recipes?
We would love to hear about your favorite holiday cookie recipes! Leave us a comment below! If you need further holiday cookie recommendations try our:
- White Chocolate and Smoked Salt Pistachio Brittle
- Classic Chocolate Truffles
- French Coffee and Vanilla Buttercream Macarons
- Korean Ppopgi Street Cookies
If you make our meringue Christmas cookies, tag a picture on Instagram or send us an email. We love hearing from our readers!
Feel free to email us at [email protected] for any questions, recommendations, or stories. We love hearing from you! You can also follow us at @carvingajourney on Instagram, Twitter, Facebook, and Pinterest. Finally, you can subscribe to our blog by joining our mailing list.
Finally, below is a list of items you may need to make your meringue Christmas cookies. Typically, you need food coloring, a piping bag, piping tips, and parchment paper! Happy baking!
Meringue Christmas Tree Cookies
(100 Cookies)
servings30
minutes2
hoursIngredients
- Meringue Cookies
4 Large Egg Whites (Room Temperature)
1/2 TSP Cream of Tartar
1/4 TSP Salt
1 Cup Granulated Sugar (200 Grams)
1 TSP Vanilla Extract
5-7 Drops Green Food Coloring
- Cookie Decorations
5-8 Oz Melted White Chocolate Wafers
6 Oz Shelled, Toasted, Ground Pistachios
Optional (If Pistachios Unsalted): 1/4 TSP Salt
Directions
- Preheat oven to 225°F (105°C). Line 2 baking sheets with parchment paper. Set aside.
- Combine egg whites, cream of tartar, and salt in a large, dry, and clean bowl.
- Using an electric hand mixer or a standing mixer with whisk attached, stir on low speed until mixture becomes frothy and foamy. Then increase speed to high.
- While continuing to stir on high, gradually add sugar, about 1 TBSP at a time. Stir after adding each TBSP until sugar is dissolved.
- Beat until you add all the sugar and the mixture is thick and glossy. The mixture should have also increased in volume creating stiff peaks. The sugar needs to be completely dissolved. (It should feel like a marshmallow cream if you touch it.)
- Fold in vanilla extract and green food coloring. If you would like even food coloring, continue to fold until the color is even. If you would like different shades, add food coloring to the piping bag as well.
- Fit a piping bag with any tip you prefer. It should be large. I recommend using a basic round tip or a star shaped tip. Transfer your meringue into the piping bag. Pipe your cookies onto the baking sheet. You can pipe how you like (Swirl, three tiers, a single cone ‘Hersey Kiss.’) Meringue cookies can be very close to one another as they will not spread while baking.
- Optional Step: Add Sprinkles on top of your meringues like ornaments before placing into the oven.
- Bake at 225°F for 1 hour. Then, turn off oven and let the cookies rest for AT LEAST an hour. I usually do longer. (Professional kitchens often leave them over night.)
- While the cookies are baking, shell the pistachios. Once shelled, place in a pan to toast over medium heat. Continuously stir as to not burn the bottom of the nuts.
- Once toasted, place pistachios in a blender or grinder. If the pistachios are salted, do not add extra salt. If unsalted, also add salt to the grinder. Grind your pistachios until they are roughly tiny pieces (between a powder and chunks).
- Once cookies are cooled and set, melt your white chocolate wafers in a double boiler or microwave.
- Dip the bottom of the cookies into the white chocolate and then into the pistachios. Set the dipped cookies aside until the white chocolate is set.
- EAT!!!!
Did you make this recipe?
Tag @carvingajourney on Instagram and hashtag it
Like this recipe?
Follow us @carvingajourney on Pinterest
Did you make this recipe?
Follow Carving A Journey on Facebook
Carving A Journey is a participant in the Amazon Services LLC Associates Program, an affiliate advertising program designed to provide a means for sites to earn advertising fees by advertising and linking to Amazon.com. Although we may earn commissions for our endorsement, recommendation, testimonial, and/or link to any products or services from this website, these opinions are my own and I fully support these products.