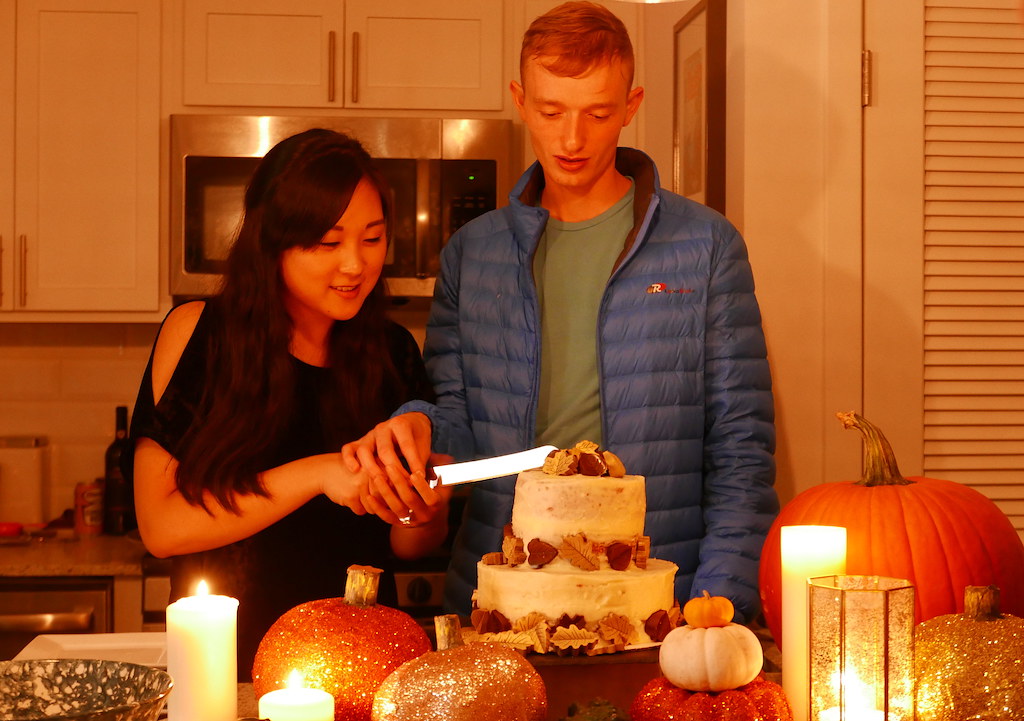
There are really special moments in life that linger with you: such as getting your driver’s license, having your first kiss, voting for the first time, and turning twenty-one. One of my newest and most memorable moments this year has been to stand by and witness one of my best friends recite her vows and officially becomes a married woman… especially since I was in charge of producing the wedding cake (Eeeek!!!)
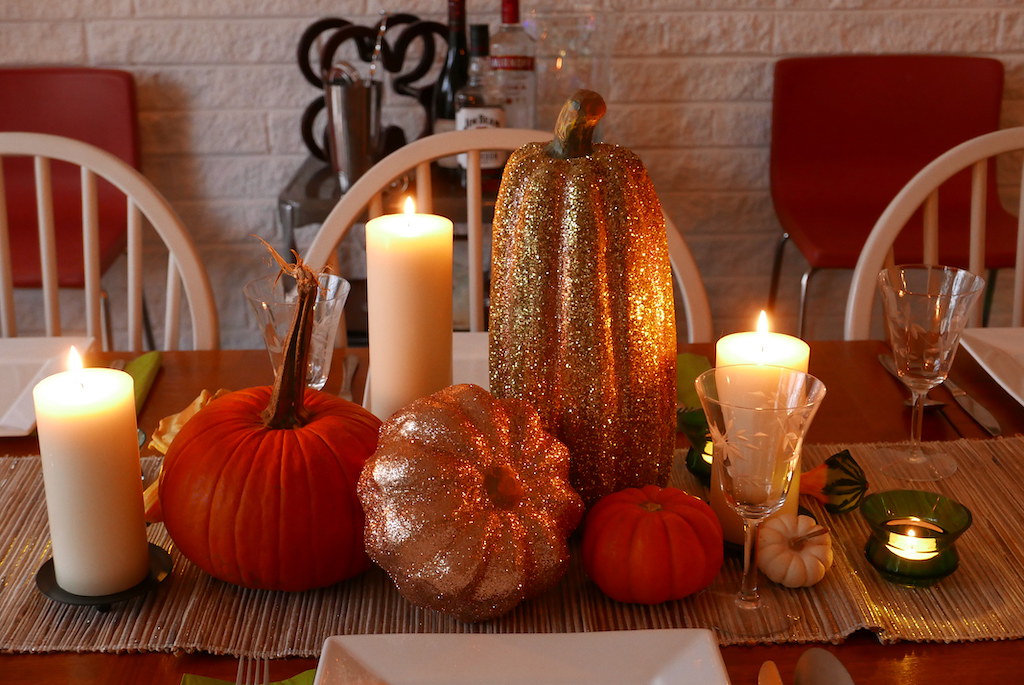
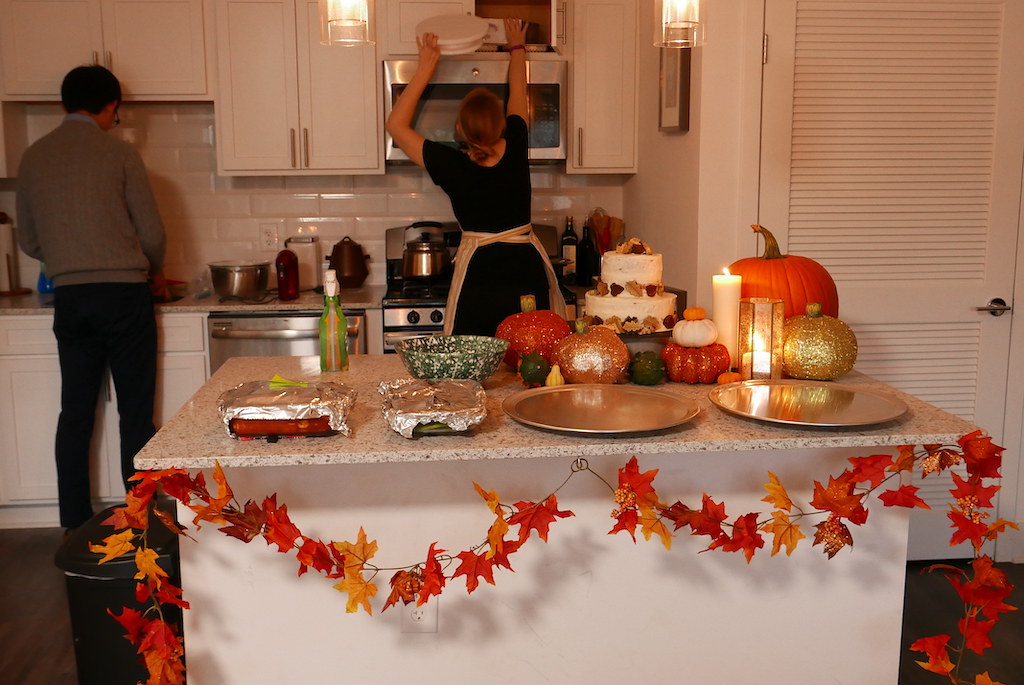
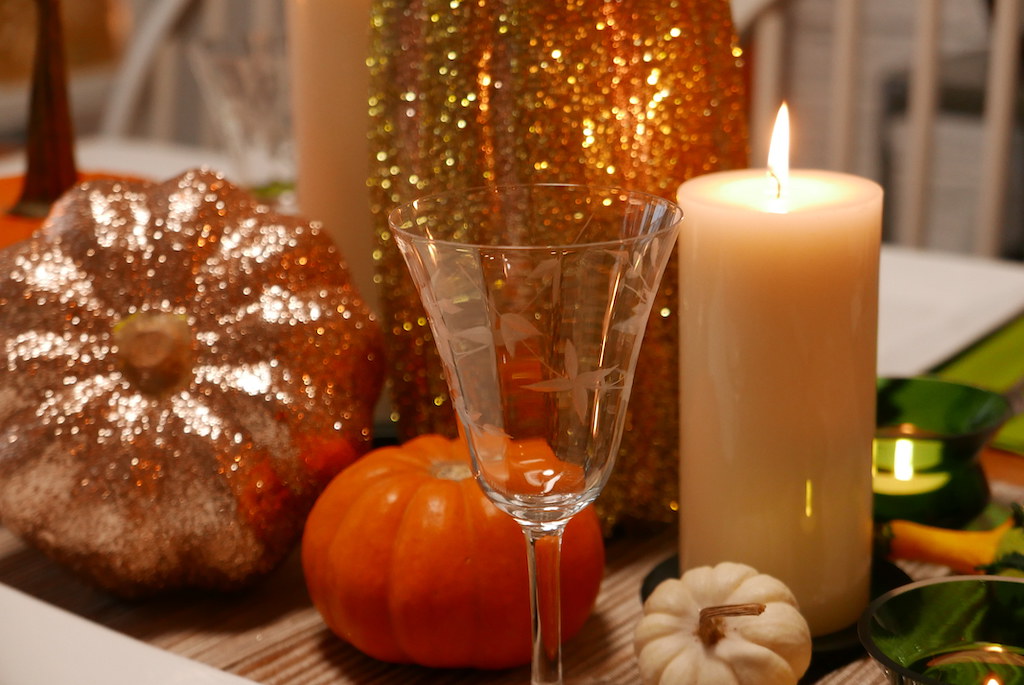
Because their amazingly romantic wedding is just a few months away next March, we decided to have just a small dinner party of friends to celebrate making it official in the state of Maryland. It was an intimately small group, so we wanted to create a cozy and comfortable vibe. Hence using our apartment for the location! What is the first thing that comes to mind when you hear the word “cozy?” For us, it was the beautiful fall colors of November, spiced fall Moscow mules, rustic decorations, and a lot of candles! You will get to learn all about the decorations later in the week with Elizabeth (you may see most of these photos again in Elizabeth’s post), but for now let’s talk about the rustically styled wedding cake and tips for cake decorating!
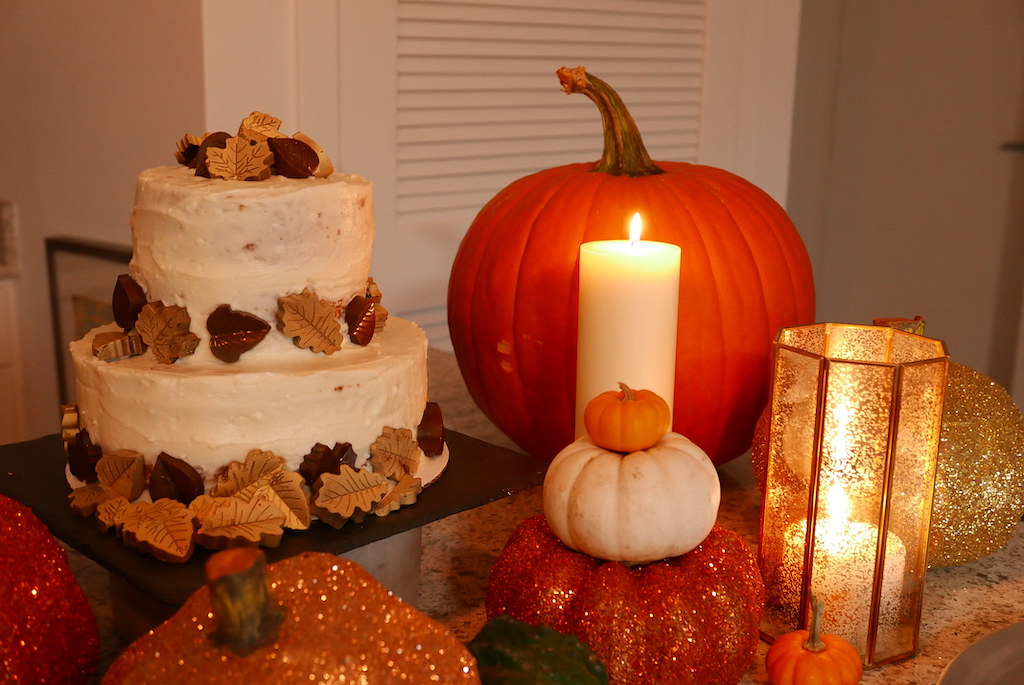
Because I trust America’s Test Kitchen more than anyone when it comes to baking gluten-free, I used their basic gluten-free yellow cake. I didn’t want to experiment and mess up for this special day! I also made a very basic vanilla cream cheese frosting. You cannot go wrong with America’s Test Kitchen and I was happy with this wedding cake!!!
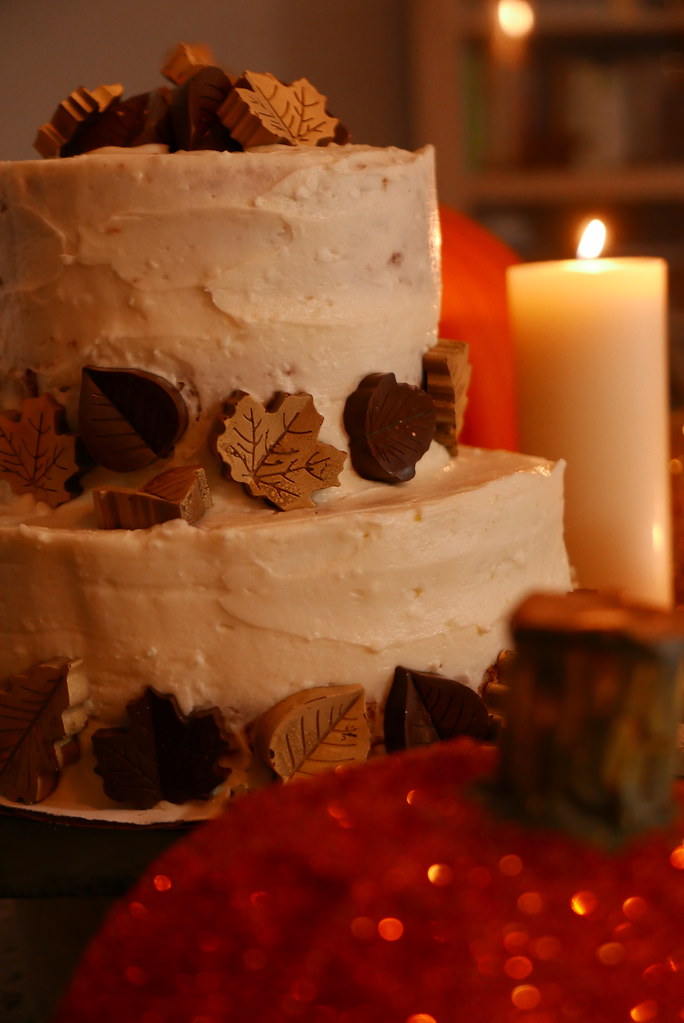
To decorate this cake, I had to let go of my inner fusspot… I like perfection, but having a rustic cake means that it isn’t supposed to look perfect! In the end, I accepted that there shouldn’t be straight corners and lines, that some cake may show through the icing, and that it was okay to have a few crumbles here and there. It was supposed to look tasty and causal – like a friend made it, not a professional. And I had so much fun making this!
I’m here to give you 5 of my most basic tips to get your basic cake (or wedding cake in this case) looking the way you want!
Crumb Coat
A crumb coat is a thin layer of icing that helps seal and hold the loose pieces of cake intact. It prevents all those crumbs from showing up all over your beautifully iced cake.
First, stack all of your layers of cake and frosting. Once in a while there are weird gaps where I didn’t put enough frosting in between the layers of cake. I usually pipe more frosting into those gaps. When you are satisfied with the layers, set aside a bowl of the frosting from the rest of the batch. This frosting will be used for the crumb layer. You do not want to be using the frosting in the big bowl because you don’t want to contaminate your beautiful icing with crumbs! Using a spatula, spread a thin layer on the outside of the cake. Then use a bench scraper to smooth out all of the corners and edges. For the cake in this post, I skipped the bench scraper step. Remember, rustic! I did do this on my lemon poppy seed cake (gluten-free).
Choosing Your Icing Based on Your Look
The decorations matter a lot when baking a cake for family and friends, but in order to make it look the way you want, you need to choose the right icing. You don’t want to be making a cake that needs perfect edges and use Italian meringue icing.~ It just doesn’t work! Instead, decide how you want your cake to look and choose the icing from there. You don’t want to be frustrated and crying while covered in frosting! The basic types of frosting are buttercream, cream cheese frosting, Swiss meringue buttercream, Italian meringue buttercream, French meringue buttercream, ganache, whipped cream, fondant, and marzipan. Do your research and go from there!

Freezing a Cake
Freezing a cake in advance makes it much easier to frost a cake if you do it correctly. Doing it wrong will make the cake dry and hard. First, let the cake cool completely on your cooling racks. You should never put a warm cake in the freezer. Secondly, wrap the cake in plastic wrap without any gaps. I typically wrap my cake twice to make sure it is 100% sealed. You do not want that cold air hitting the cake directly. I know it is hard to believe, but you can freeze a cake for an incredibly long time. Just make sure it is completely coated, and if you freeze for more than a week, add some tin foil as well. If you freeze it properly, the cake will not taste dry at all. It hardens the cake enough to not move about as much when icing it.
Bench Scraper and Turn Table
Once again, I didn’t use a bench scraper for this cake but I did for my lemon poppy seed cake. After placing icing on the cake, use your one hand to hold the bench scraper, and the other to rotate the turntable. Begin turning the cake while pressing the scraper against the cake. You may need to add a little icing here and there to fill in holes and gaps. Then, repeat the process until you have your desired evenness. This takes practice! Don’t lose hope. My first attempt took me 5 hours. So if this is your first effort, carve out enough time to do this and still get ready before your guests arrive.
Have Fun and Practice
It takes time and practice to make a cake look the way you want. Even my friend’s wedding cake ended up looking different than I intended. Just remember, baking is supposed to be fun and enjoyable. I had a blast making this cake, despite my perfectionist tendency for smooth sides. Have fun making it, and definitely enjoy eating it!!!

I had so much fun decorating this wedding cake because it was for a friend whom I absolutely love. Congratulations Jandi and Carl! May your lives together be filled with much joy and happiness! Cheers!
Carving A Journey is a participant in the Amazon Services LLC Associates Program, an affiliate advertising program designed to provide a means for sites to earn advertising fees by advertising and linking to Amazon.com. Although we may earn commissions for our endorsement, recommendation, testimonial, and/or link to any products or services from this website, these opinions are my own and I fully support these products.

