Hello readers – Elizabeth here! Emily has been swamped with work for the past week, so today it’s my turn to reveal our latest recipe: Drunken Candy Apples (Alcohol-Infused Caramel Apples). The post claims that Emily published this recipe, but ’tis a lie (I ought to fix that). This is the first post written, cooked, and tested solely by me…which is a little nerve-wracking considering I’m usually just testing. Emily wanted to skimp on the Halloween season and do some unrelated recipe, however I wracked my brain for a clever, spooky treat, and voila! This Alcohol-Infused Caramel “Poison” Apple recipe was inspired by the Evil Queen from Disney’s (1937) Snow White and the Seven Dwarfs.
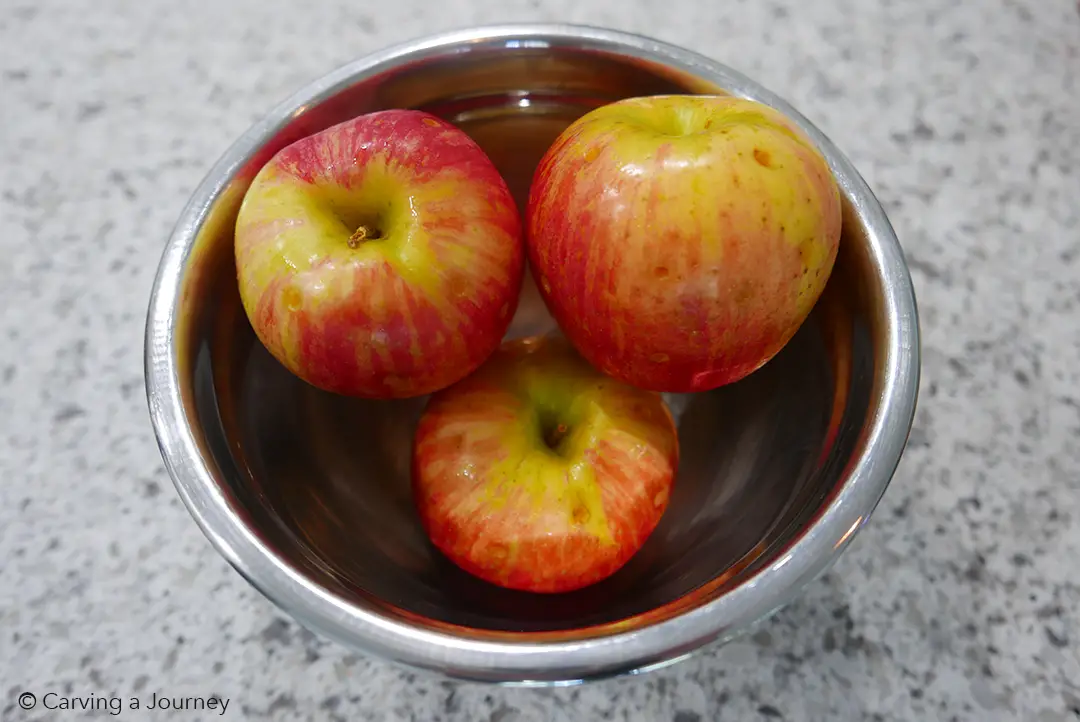
I am a huge fan of apples . Some of my favorite foods include baked apples, apple pie, and apple cider, so I decided to add to my repertoire. Plus, I had never eaten a caramel apple before making this recipe. But hey, I’m an adult, so I up’ed the ante and gave these apples a little kick of alcohol – just for fun. For this recipe, I personally used Honeycrisp apples spiked with Amber Woodchuck Hard Cider and Applejack Apple Brandy.
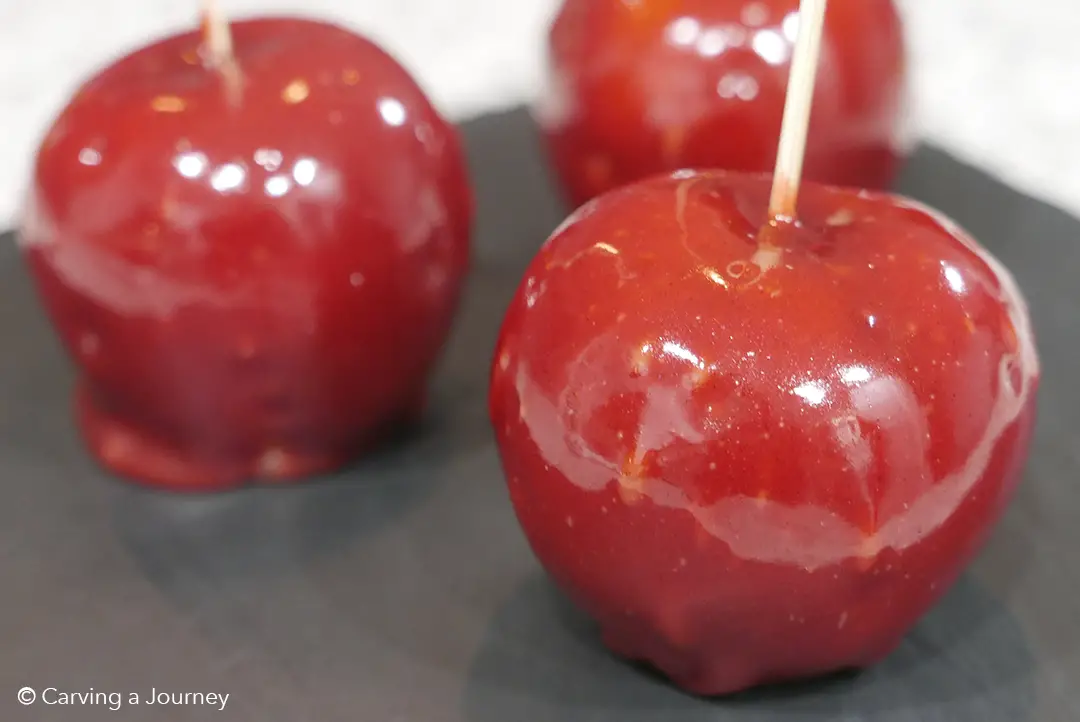
A part of me expected the spiked apples to scream: “I have brandy in me!” However, the drunken candy apples I bit into were crisp and juicy, with just a hint of the alcohol.
The caramel was by far the harder half to this recipe, especially considering it was my first time ever making caramel. My cautiousness caused the process to last several hours. I did not want my first batch to burn, so the temperature of the stove might have been a little low. Not to mention I had to rig up our meat thermometer to the pot because we don’t own a clip-on candy thermometer. In the end, it all worked out. The simmering caramel was mesmerizing to watch as it bubbled up, and the smell of the cinnamon was so enticing that I burned my tongue after dipping a spoon directly in the pot several times to taste.
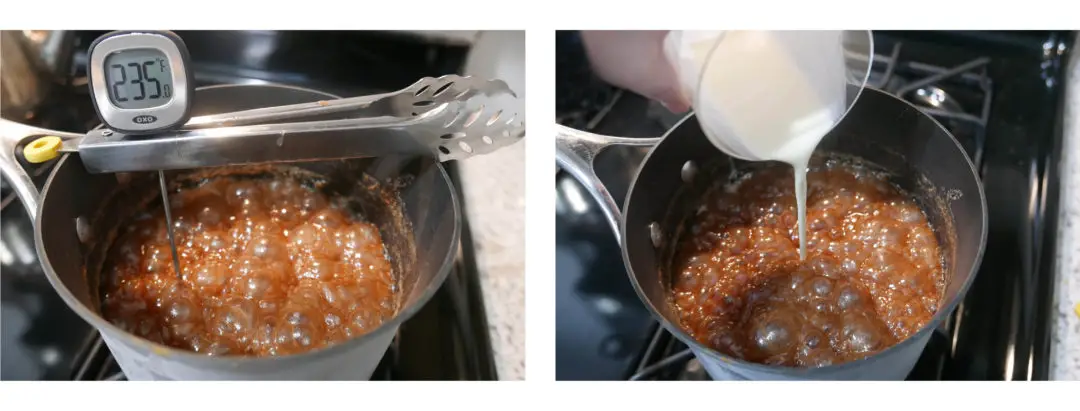
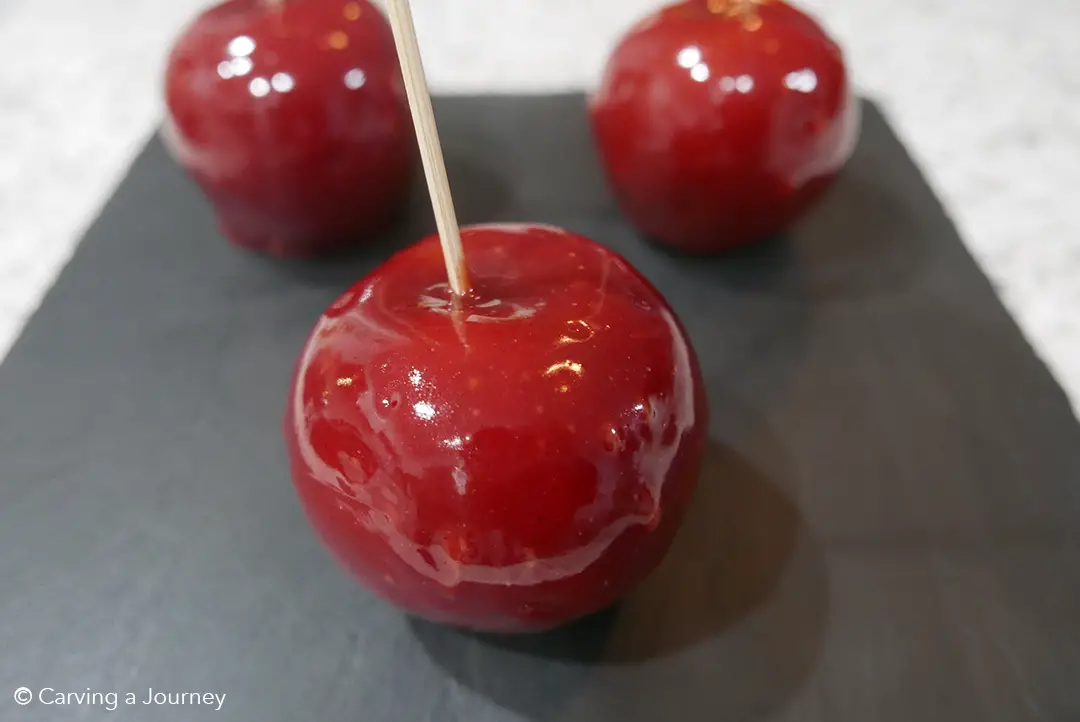
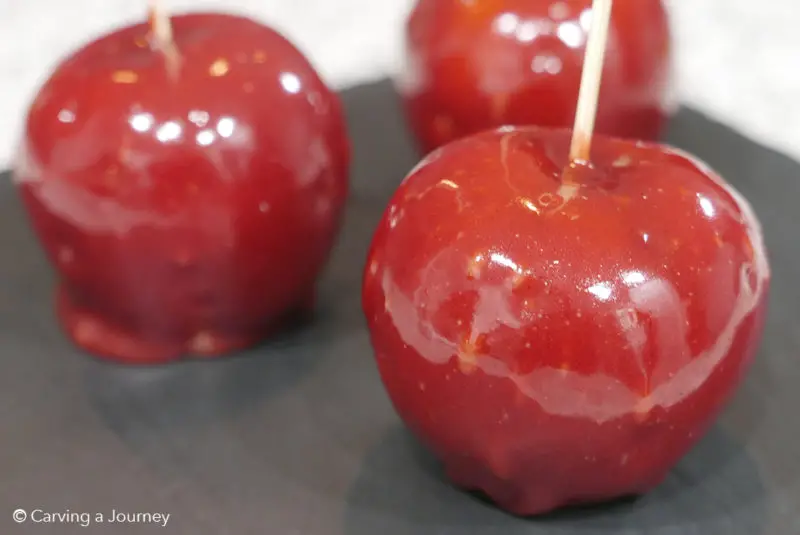
With the caramel complete, the last steps were to add the ruby red color meant to tempt Snow White, and to cover the drunken candy apples with it’s final coat of “poison.” In a final attempt to irritate me, the caramel bubbled up slightly on the surface of the apples, despite its smooth and glossy appearance in the pot. This was probably due to the holes pierced in the apples earlier to infuse with alcohol. Oh well. Despite the burnt tongue and the hours of simmering caramel, I had a blast making caramel apples for the first time. I hope you enjoy them as much as I have!
Shoutout to David for correctly guessing the hint for this recipe!
If you found this post to be interesting, you might like the following contents from our blog as well!
- Is Sake Gluten-Free? How to Find Gluten-Free Sake
- Quick, Easy, and Low-Budget Halloween Decorations
- A Guide to Picking Your Pumpkins!
- 10 Things to Try This Fall
Carving A Journey is a participant in the Amazon Services LLC Associates Program, an affiliate advertising program designed to provide a means for sites to earn advertising fees by advertising and linking to Amazon.com. Although we may earn commissions for our endorsement, recommendation, testimonial, and/or link to any products or services from this website, these opinions are my own and I fully support these products.

2 comments
The engineer in you always comes out to help you create! Beautiful photos.
Bravo! That engineer head of yours comes in handy to “make” something work. This is way too much trouble for me to make but sure enjoyed your tale of your experience! Love the way you write! hugs and love-nina